
Chat Request Popup Setup
This guide walks through setting up a Chat Request Popup that creates a lead, assigns a special status, filters leads, and notifies you to follow up with the customer.
1. Create Custom Lead Status
Settings -> Lead Statuses -> Add Status
- Name:
Chat Requested
- Active: Yes
- Prevent Automatic Emails: Yes
- Color: Choose your preferred color
- Note: Copy the Lead Status ID from the URL after saving for later use.

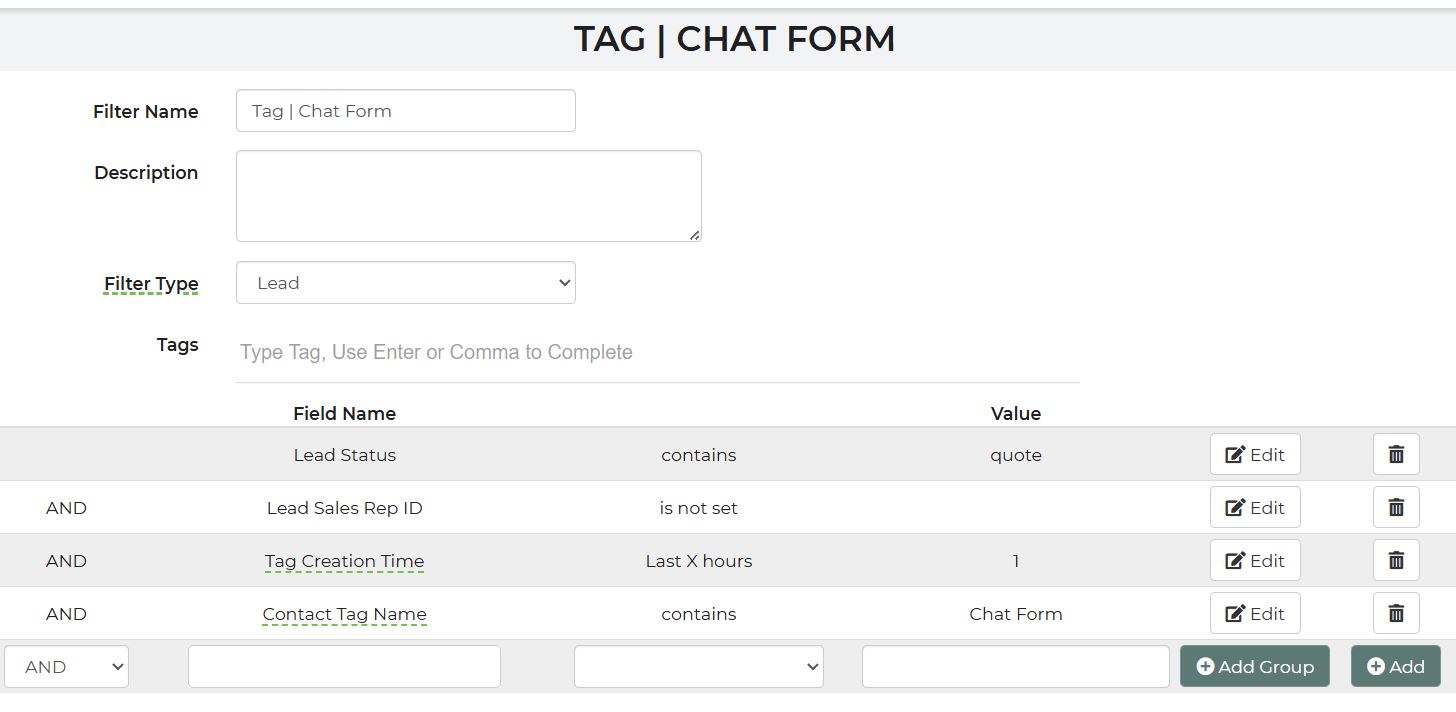
2. Create Filter
Settings -> Filters -> Add Filter
Filter Name:
Tag | Chat Form
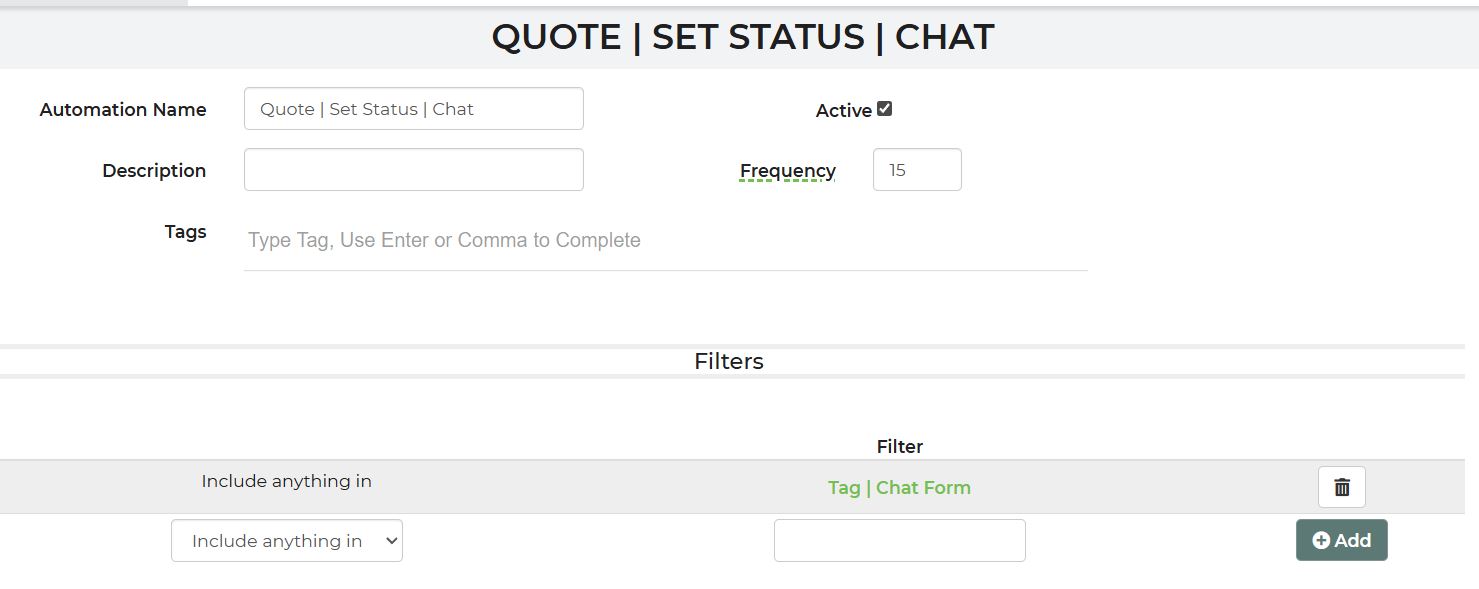
3. Create Automation
Settings -> Automations -> Add Automation
- Name:
Quote | Set Status | Chat
- Active: Yes

4. Create the Chat Form Popup
Log into your website's WordPress, and navigate to Templates -> Popups
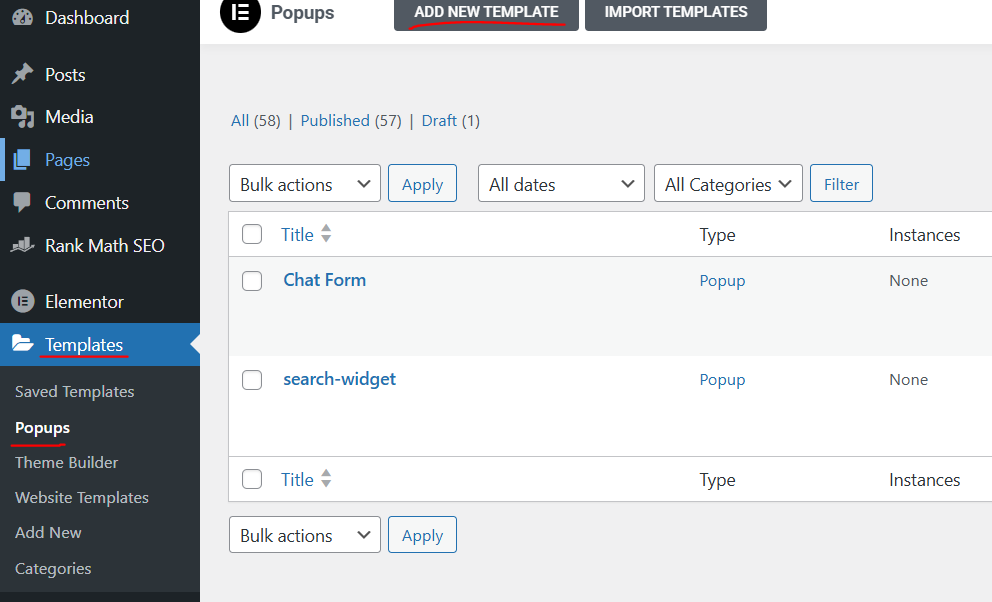
- Name:
Chat Form
- Width:
320px
- Remove 'actions after submit', or change the 'send to' email.
Form Fields
| Label | Type | ID | Notes |
|---|---|---|---|
| Name | Text | firstandlastname | |
| Phone | Number | cellphone | |
| Message | Default | message | Use default settings |
| SMS Opt-In | Hidden | oktotext | Default Value: 1 |
| Disclaimer | HTML | N/A |
<p style="font-size:10px">By submitting, you agree to receive SMS or e-mails for the provided channel. Rates may be applied.</p>
|
| Status | Hidden | status |
Use the ID of the "Chat Requested" lead status from the URL of the lead status page from earlier
|
| Tag | Hidden | custtags | Default Value: Chat |
Optional: Add honeypot and reCAPTCHA fields for spam protection.
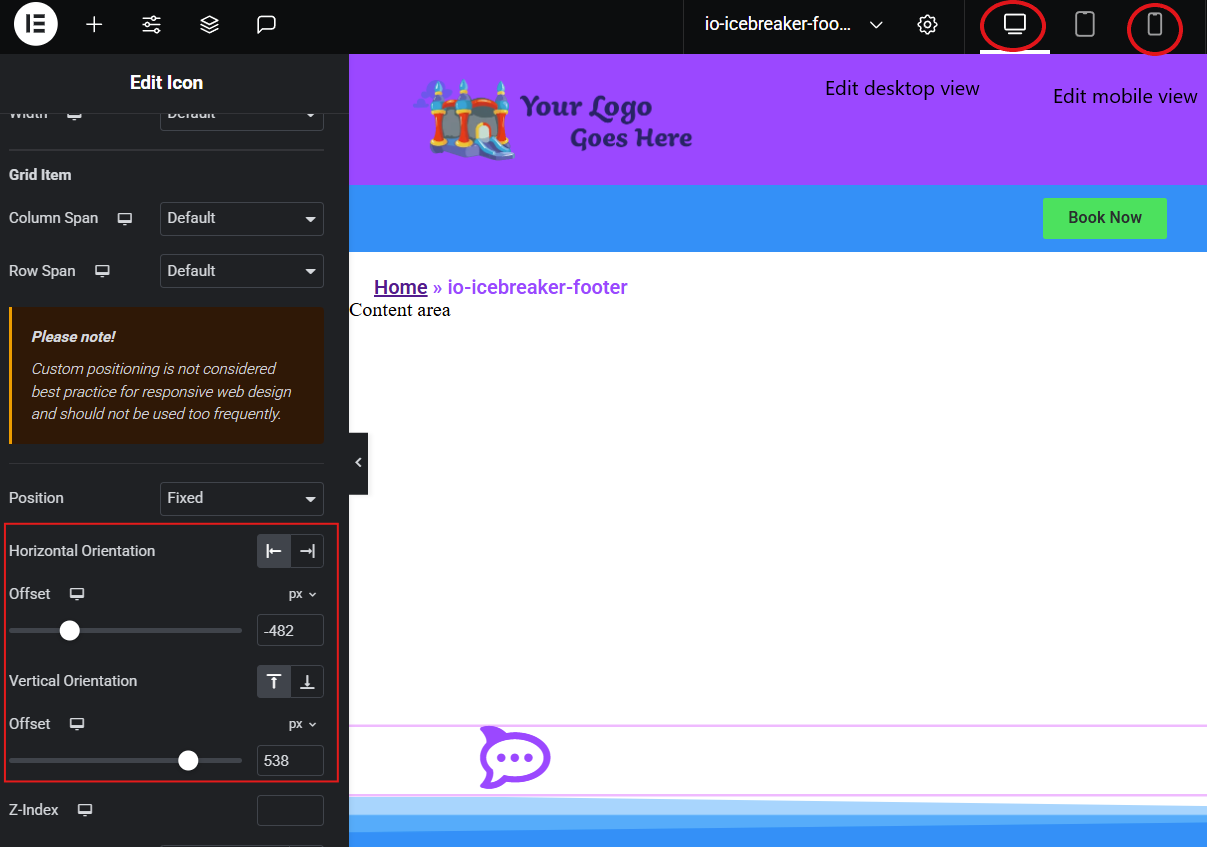
5. Displaying the Popup
- Edit the site's footer in Elementor.
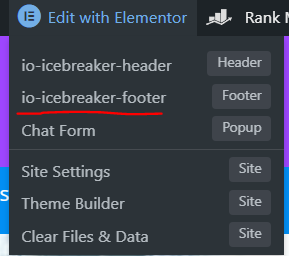
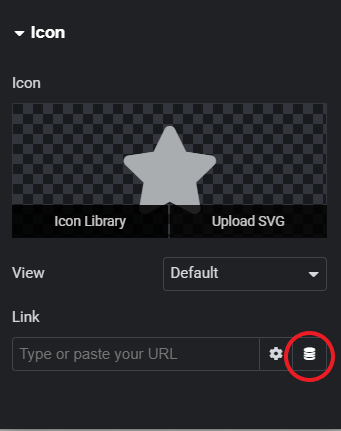
- Drag an icon widget into the site's footer.
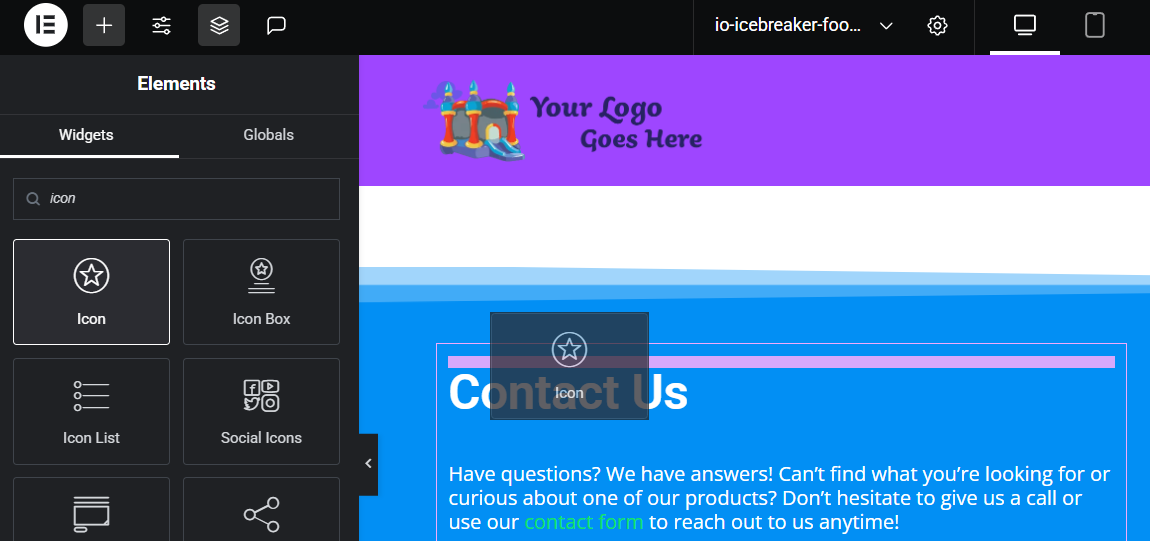
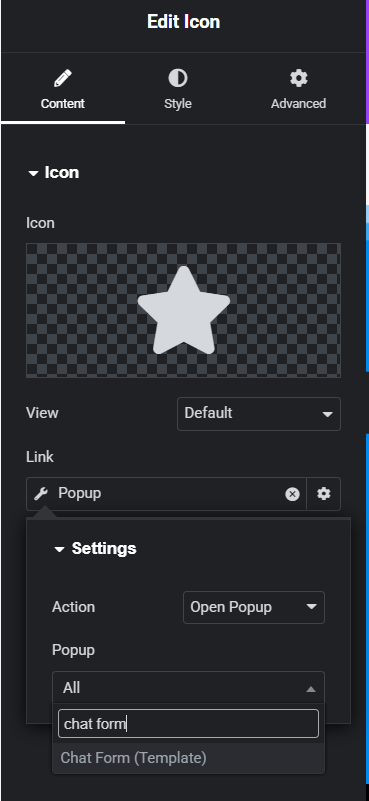
- Add your own SVG image to it, and set the 'dynamic tags' option to 'popup'.
- Set the popup name to Chat Form, and select the template that appears.
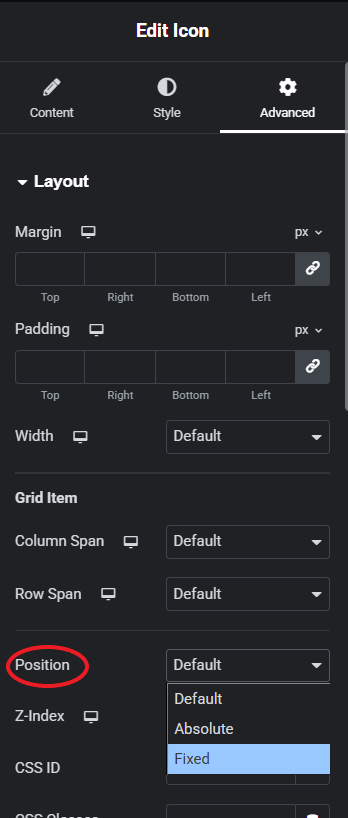
- In the 'Advanced' tab set the position to 'Fixed'. Adjust the horizontal and vertical orientation until the chat popup placement is where you want it on both desktop and mobile. This will take some trial and error, make sure to view the site in another browser to confirm.
IO Phone subscribers can respond to chat requests via text.