Getting Started - How to Upload/Change Logo
If you are looking for information on changing the logo for your company inside of the software to appear on templates (contracts, quotes, emails), view these instructions instead.
Here are the steps to update your logo on your integrated website:
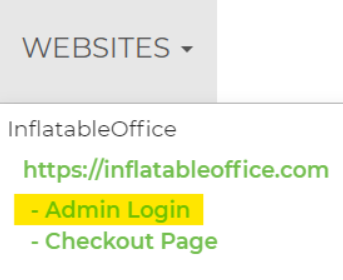
- Open your account in our software, then at the top of the screen, click Websites, then Admin Login.

- This will take you to the WordPress tool. On the left navigation bar in WordPress, click Appearance -> Customize -> Site Identity
- Click Change Logo button.
- Click Upload Files tab.
- Select file from your device to upload.
- We recommend a file that should be square and at least 512 × 512 pixels.
- You can fill out the "Alt Text" file on the right hand side with the name of your company.
- Once you are satisfied with your logo, click Select button.
- Crop image, if necessary.
- Click Publish button (at the top).


