A favicon, short for "favorite icon", is a small, iconic image that appears next to a website's title in browser tabs and in Google search results. Serving as a visual cue, it plays a crucial role in helping users quickly identify and navigate to a website amidst multiple open tabs or within search listings. Beyond mere identification, in a sea of search results, it offers a touch of branding that distinguishes your site from the rest.
Changes made to your website may not immediately reflect in Google search results, as they depend on Google's crawling and indexing processes.
On websites we generate, a default favicon is provided. However, for those looking to customize and elevate their online presence, we offer the capability to upload your own. This documentation will guide you through the intricacies of favicons and how you can replace the default with a unique representation of your brand.
Manually Selecting a Favicon
- Login to your WordPress Dashboard
- Click "Appearance"
- Click "Customize"
- Click Site Identity
- Click Select site icon
- Click "Select Files"
- Find your desired file
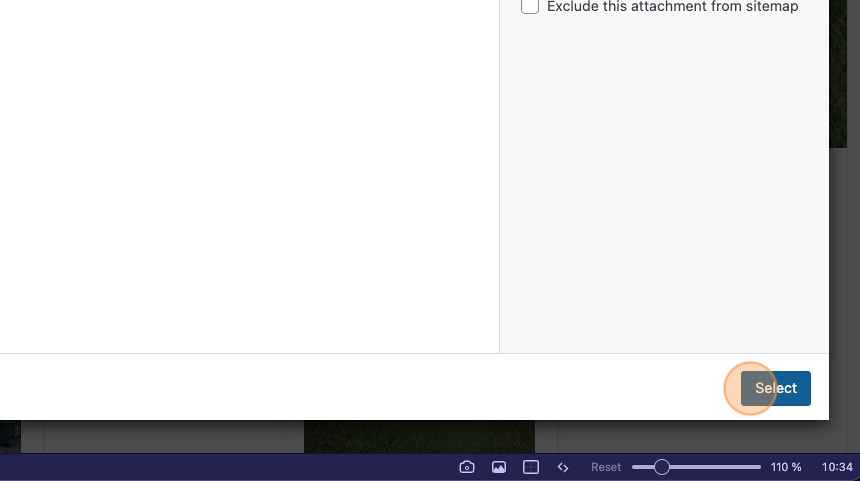
- Select the file to be uploaded
-
Select the file in WordPress
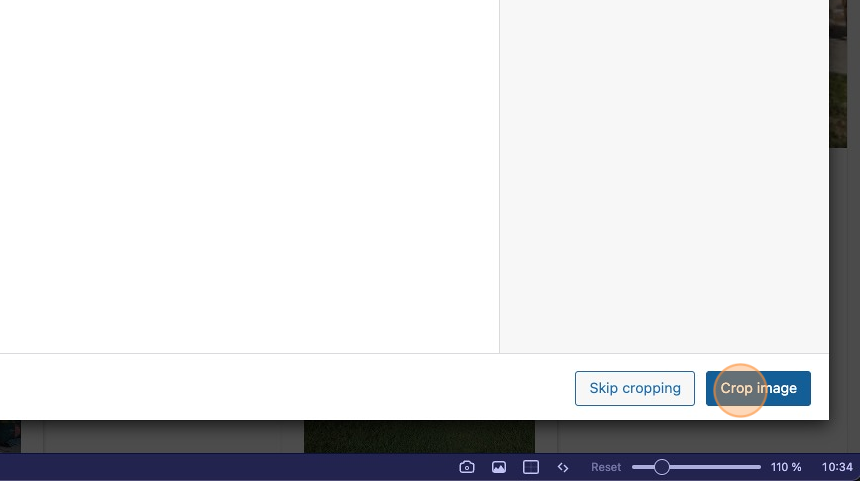
- Crop the image
- Click "Crop image"