


Badges and Banners add eye-catching labels to your rental items on your website. They help customers quickly spot availability, popularity, special deals and more.
What Are Banners and Badges?
Banners are corner overlays shown on item images to highlight time-sensitive or availability-based information. Only one banner appears per item at a time.
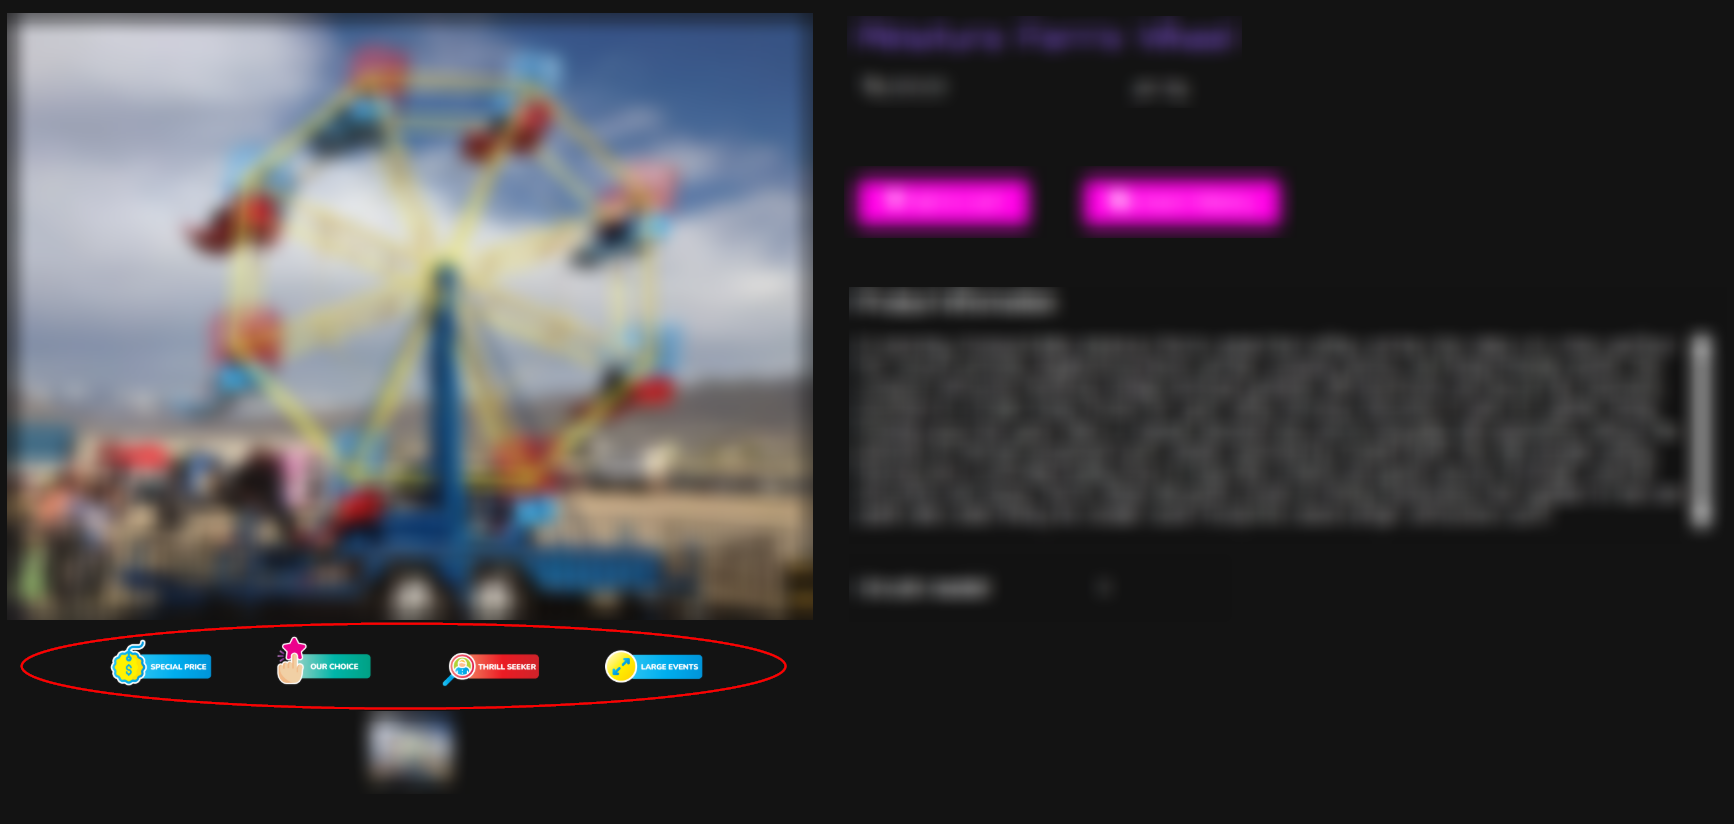
Badges are smaller labels shown beneath or alongside items. They highlight static attributes such as pricing, features or item type. You can display up to four badges per item.
Banners
The software works out which banners an item qualifies for. When more than one applies, the first one in this order of priority is shown:
| Priority | Banner | When an item qualifies |
|---|---|---|
| 1 | Unavailable | No availability remains for the item |
| 2 | Last One Available | More than one unit exists, but only one is left |
| 3 | In Demand | The item is in the top 30% of rentals based on confirmed and contracted leads for the next 12 months |
| 4 | Popular | The item is in the top 30% of rentals based on completed leads for the previous 12 months |
| 5 | Package Discount | The item is part of a package |
| 6 | New | The item was created less than 18 months ago |
| 7 | Delivery Only | The item is restricted to delivery types that do not allow pickup |
| 8 | Pickup Available | The item allows a pickup delivery type |
You decide which of these banners are allowed to show. You can set that once for your whole account, and then change it for any single item.
Choose the Banners for One Item
- Go to Settings > Inventory and open the rental item.
- Open the Upselling section.
- Pick an option next to Banners.
| Option | What it does |
|---|---|
| Use defaults | The item follows the banner defaults of your account. See "Set the Banner Defaults" below |
| Custom for this item | The item uses its own banner settings and ignores the defaults |
| Off | No banner shows on this item |
When you pick Custom for this item, two more settings appear:
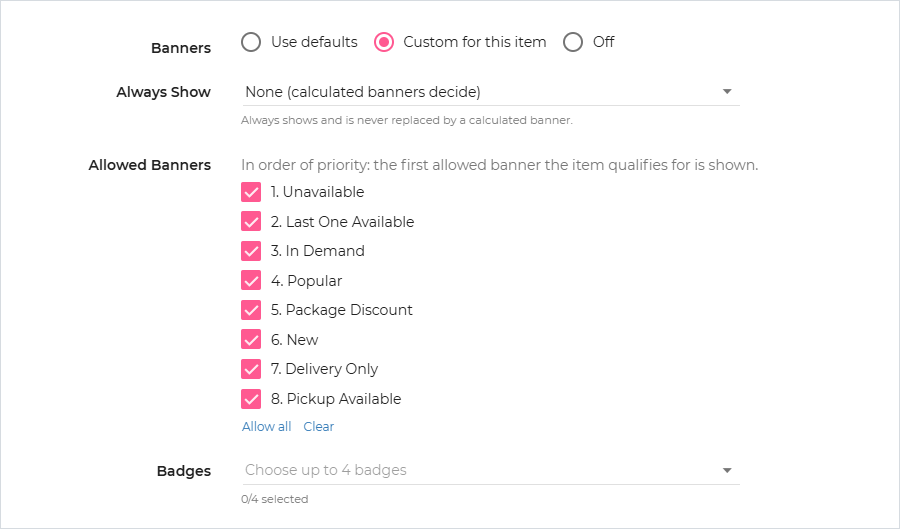
- Allowed Banners: tick the banners this item is allowed to show. The item still has to qualify for a banner. If it qualifies for more than one, the first allowed banner in the order of priority is shown. Use Allow all or Clear to tick or untick everything.
- Always Show: pick one banner that always shows on this item, even when the item does not qualify for it. It is never replaced by a calculated banner. Leave it on None (calculated banners decide) if you do not want this.
When Booked
When you pick an Always Show banner, you also choose what happens once the item is fully booked:
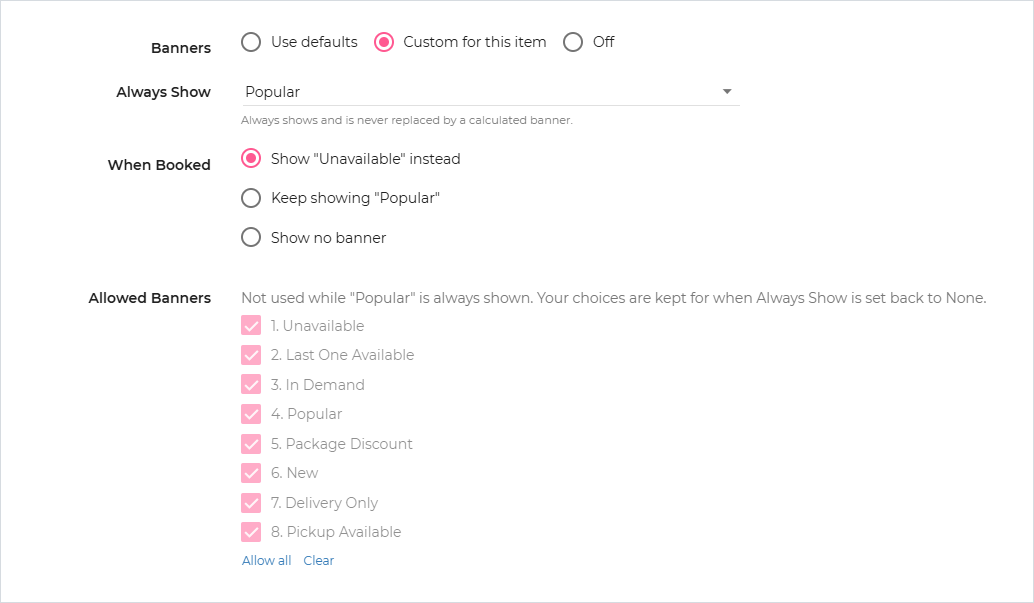
| When Booked | What the customer sees on a booked item |
|---|---|
| Show "Unavailable" instead | The Unavailable banner replaces your Always Show banner. This is the default |
| Keep showing the banner | Your Always Show banner stays |
| Show no banner | No banner is shown |
Note: while an Always Show banner is set, the Allowed Banners list is not used. Your choices are kept for when Always Show is set back to None.
Click Save on the item when you are done.
Set the Banner Defaults
The defaults apply to every item that is set to Use defaults, so you do not have to edit each item.
- Go to Settings > Preferences > Online Quoting.
- Open the Website Banners section.
- Tick Show Banners to turn banners on for items that use the defaults.
- Choose the Allowed Banners and, if you want one, an Always Show banner. These work the same way as on an item.
- Click Save.
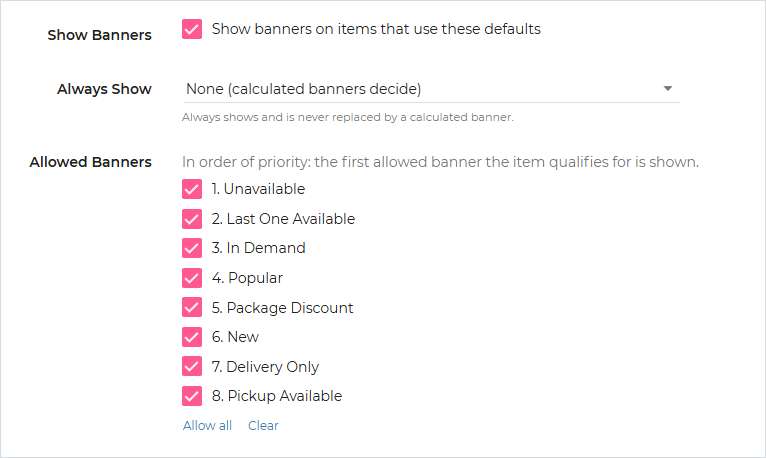
When Show Banners is not ticked, only items set to Custom show a banner.
Accounts With More Than One Location
When you are editing the preferences of a location, a Separate Defaults row appears. Tick This location keeps its own banner defaults to give that location its own set. Locations without their own defaults share the account-wide defaults.
How the Banner Is Picked
- If the item is set to Off, no banner is shown.
- If the item is set to Custom for this item, its own settings are used. Otherwise the defaults are used.
- If an Always Show banner is set, it is shown. Once the item is booked, the When Booked choice decides what happens.
- Otherwise the first Allowed banner the item qualifies for is shown, in the order of priority.
- If no allowed banner qualifies, no banner is shown.
Note: items that already had banners turned on before the October 2026 release were switched to Custom with every banner allowed, so they keep showing banners the same way as before.
Bottom Badges
You can choose up to 4 badges per item from the following options:
- Special Price
- Great Value
- For Kids
- Our Choice
- Customer's Choice
- Wet
- Wet or Dry
- Indoor / Outdoor
- Thrill Seeker
- Large Events
- Summer
How to Set It Up
- Go to the Upselling section of your inventory settings (Settings > Inventory, select the rental item, navigate to Upselling).
- You will see two fields: Banners and Badges.
- Banners: choose Use defaults, Custom for this item, or Off, as described above.
- Badges: select the badges you want for the item. You can choose up to 4.
- Sync your website: run a WP sync to send the badge and banner data to your website. Once the sync is complete, the labels will appear on your category and rental pages.

How It Appears
This is how it appears to the customers:
Category Page
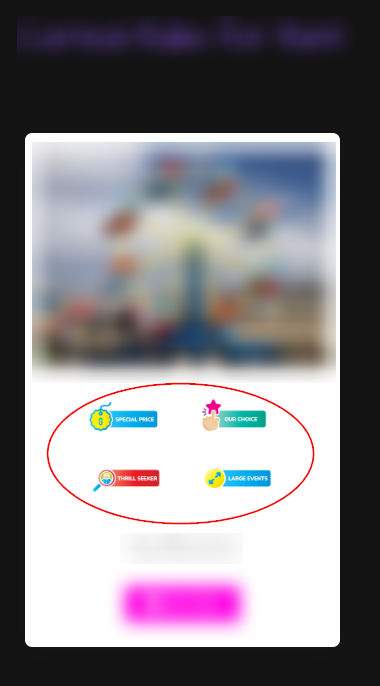
Product Page
How It Works Behind the Scenes
- Banner eligibility is calculated automatically using your booking data, item age, delivery settings and lead history.
- Your banner settings then decide which of the banners an item qualifies for is actually shown.
- Badge selections are chosen manually per item and saved to your account.
- Only one banner can display at a time, and only four badges can display at a time.
Tips
- Clear your browser cache after syncing to make sure the latest banners and badges appear.
- Banners work best when your booking and lead data is current, since the In Demand and Popular banners depend on lead history.
- Use badges strategically to highlight the details your customers care about most rather than enabling every option.
- You must be using the newest version of the InflatableOffice WordPress plugin. Here is a step by step guide on how to install it on your existing WordPress site.