
Rental Inventory: Creating Packages
This guide will walk you through creating rental packages that bundle multiple items, like a bouncer, tables, and chairs, into a single, easy-to-manage product with clear pricing and availability.
PLEASE NOTE: There are many different ways you can create/use packages. This is a basic overview of the two most common ways packages are used.
Prerequisites
- All items you want to include in the package (e.g., bouncer, tables, chairs) must already exist as rental items in your Inventory.
- You should be familiar with the Accessories feature, as packages are built using it.
- Understand that there are different types of packages, but the two most common ways are: fixed (items are set and cannot be changed) and dynamic (customers can choose specific items).
Step-by-Step: Build a Fixed Package
Note: A fixed package offers a specific, predefined set of items that customers cannot change.
1. Create the Package Item
- Go to Settings → Inventory → Add Inventory.
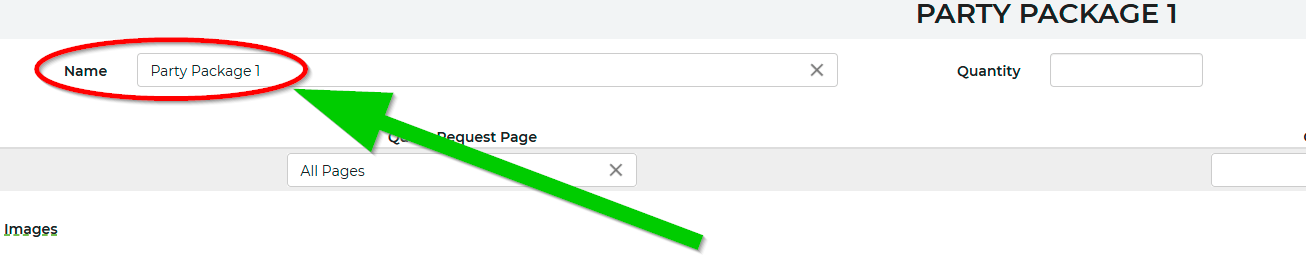
- Name your package (e.g., "Basic Party Package") and assign it a category. We recommend creating a "Packages" category to keep all your bundles organized.
- Set the Quantity to Unlimited. The package's availability will be controlled by the quantities of the items it contains.

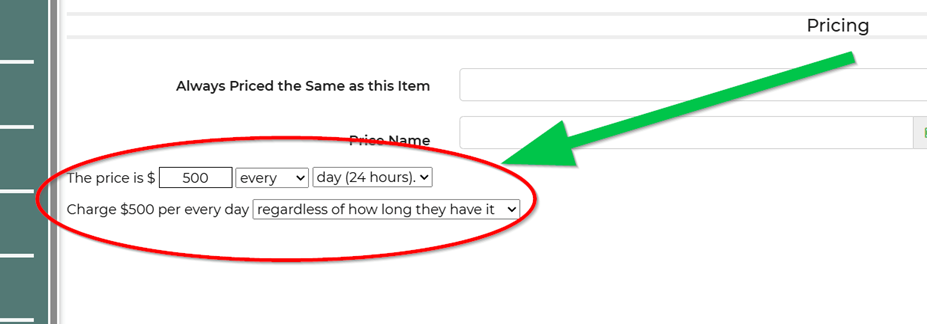
- Set a Flat package price. You will later override the prices of the individual accessories so that only the total package price is used.
2. Add Package Contents as Accessories
- Open the package item you just created.
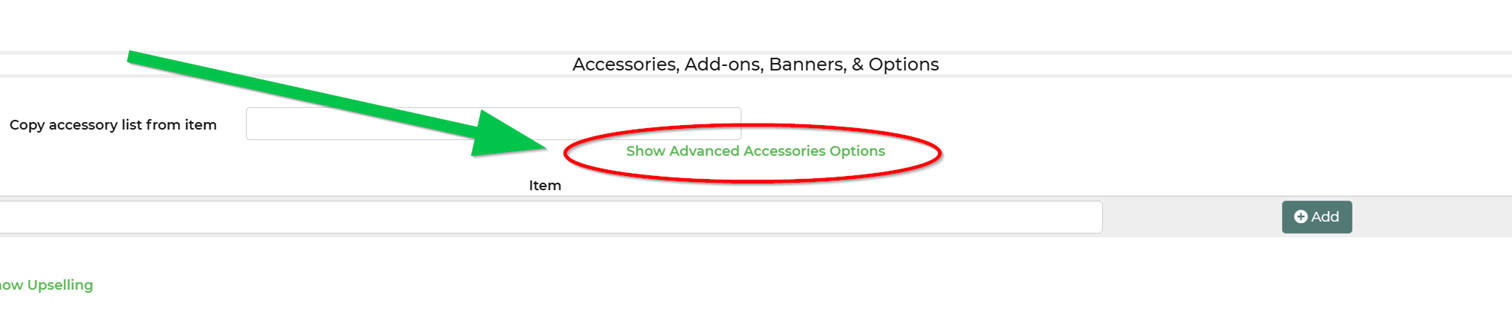
- Navigate to the Accessories tab.
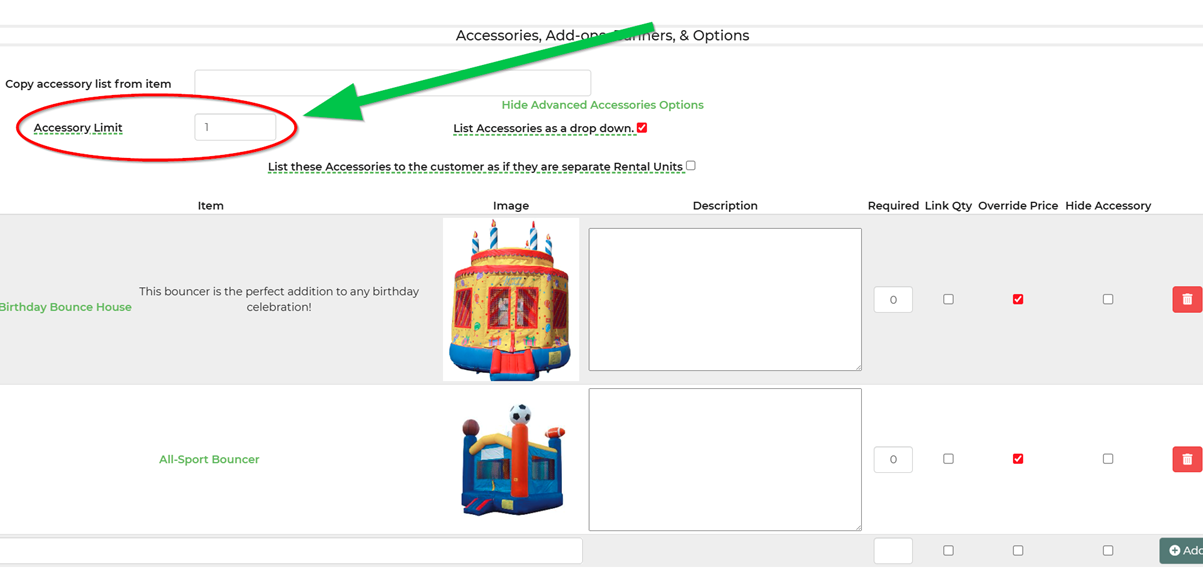
- Select "Show Advanced Accessories Options".
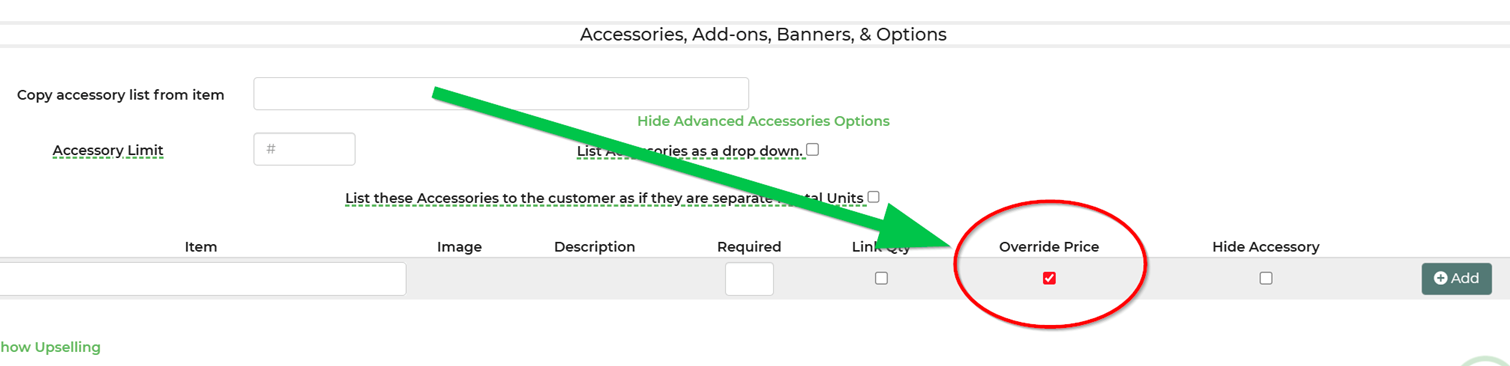
- Add each item that belongs in the package. For items that are always included (e.g., 2 tables, 12 chairs):
- Mark them as Required and set the required quantity.
- Enable Override Price so the cost of these individual items is included in the flat package price.

3. Save and Test
- Save your changes.
- View the new package on your website and add it to a cart.
- Verify that all required items are automatically added, any optional choices are correctly limited, and the final price matches your flat package price.
Step-by-Step: Build a Dynamic Package
Note: A dynamic package allows customers to "choose" specific items from a selection, in addition to any required items.
- Create the Package Item
- Start by creating the package item just as you did for a fixed package.(see above) The key difference lies in how you set up the accessories.
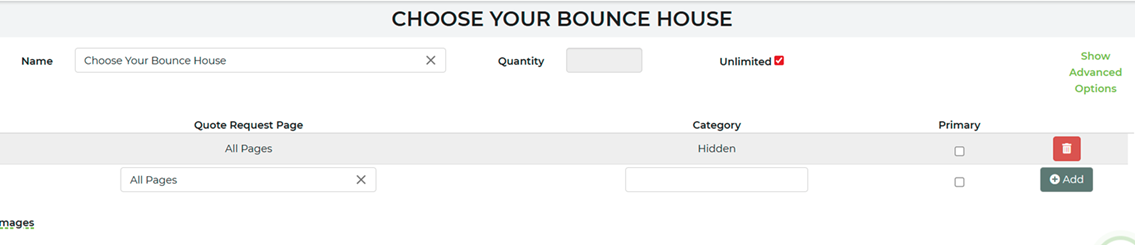
- Create an inventory item under the “Hidden” Category. (You may need to create this category)
- Name this item whatever you want, but a good practice is to use terms like “Choose Your Bounce House” or “Choose A Concession” etc.
- Mark Quantity to Unlimited.
- Add to the category you made called “Hidden”
- Add the items you would like your customers to choose from to the Accessories section.
- Set the limit to the amount they are allowed to add from the “Choose” Item.
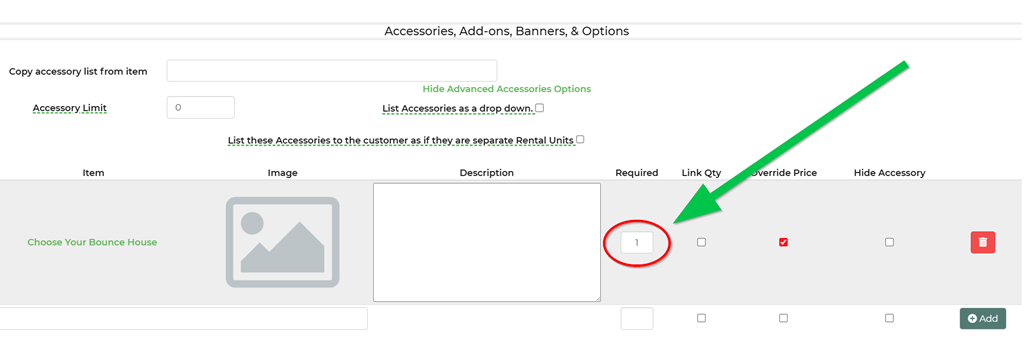
- Return back to the Package you created and add the “Choose” Item to the accessories section.
- Once you add the item to accessories, you must enter “1” into the Required field. (This will force the customer to select an item from the “Choose” item you created)
- If necessary, add the rest of the required accessories in addition to the “Choose” item.
- Save & Test
- Save your changes.
- View the new package on your website and add it to a cart.
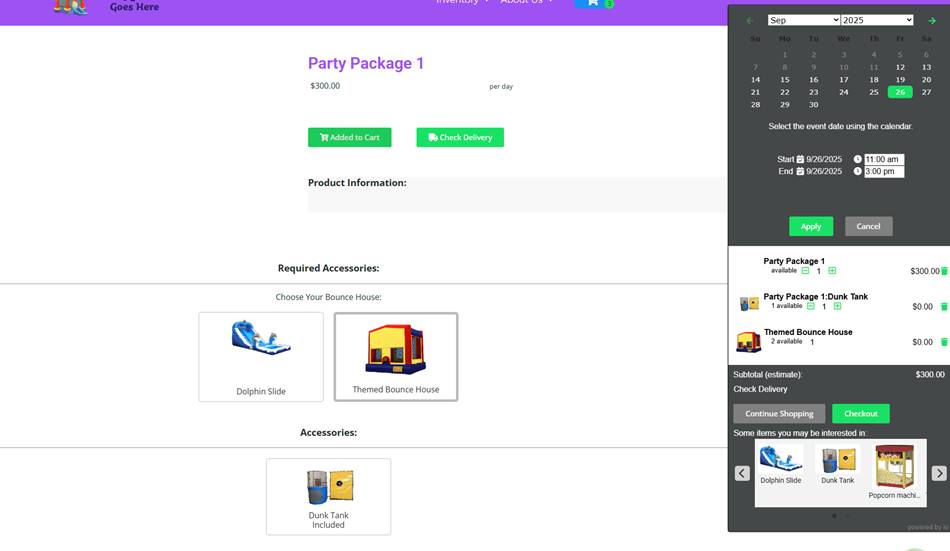
- Verify that all required items are automatically added, any optional choices are correctly limited, and the final price matches your flat package price.
- Review the checkout page and make sure it is displayed correctly.
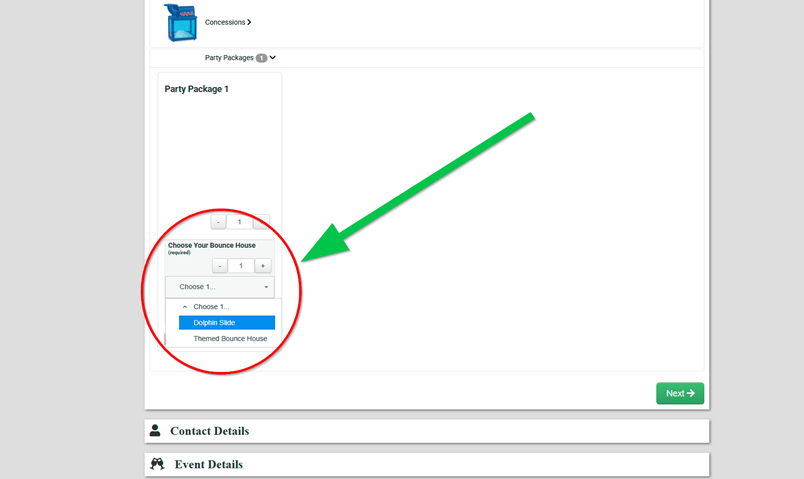
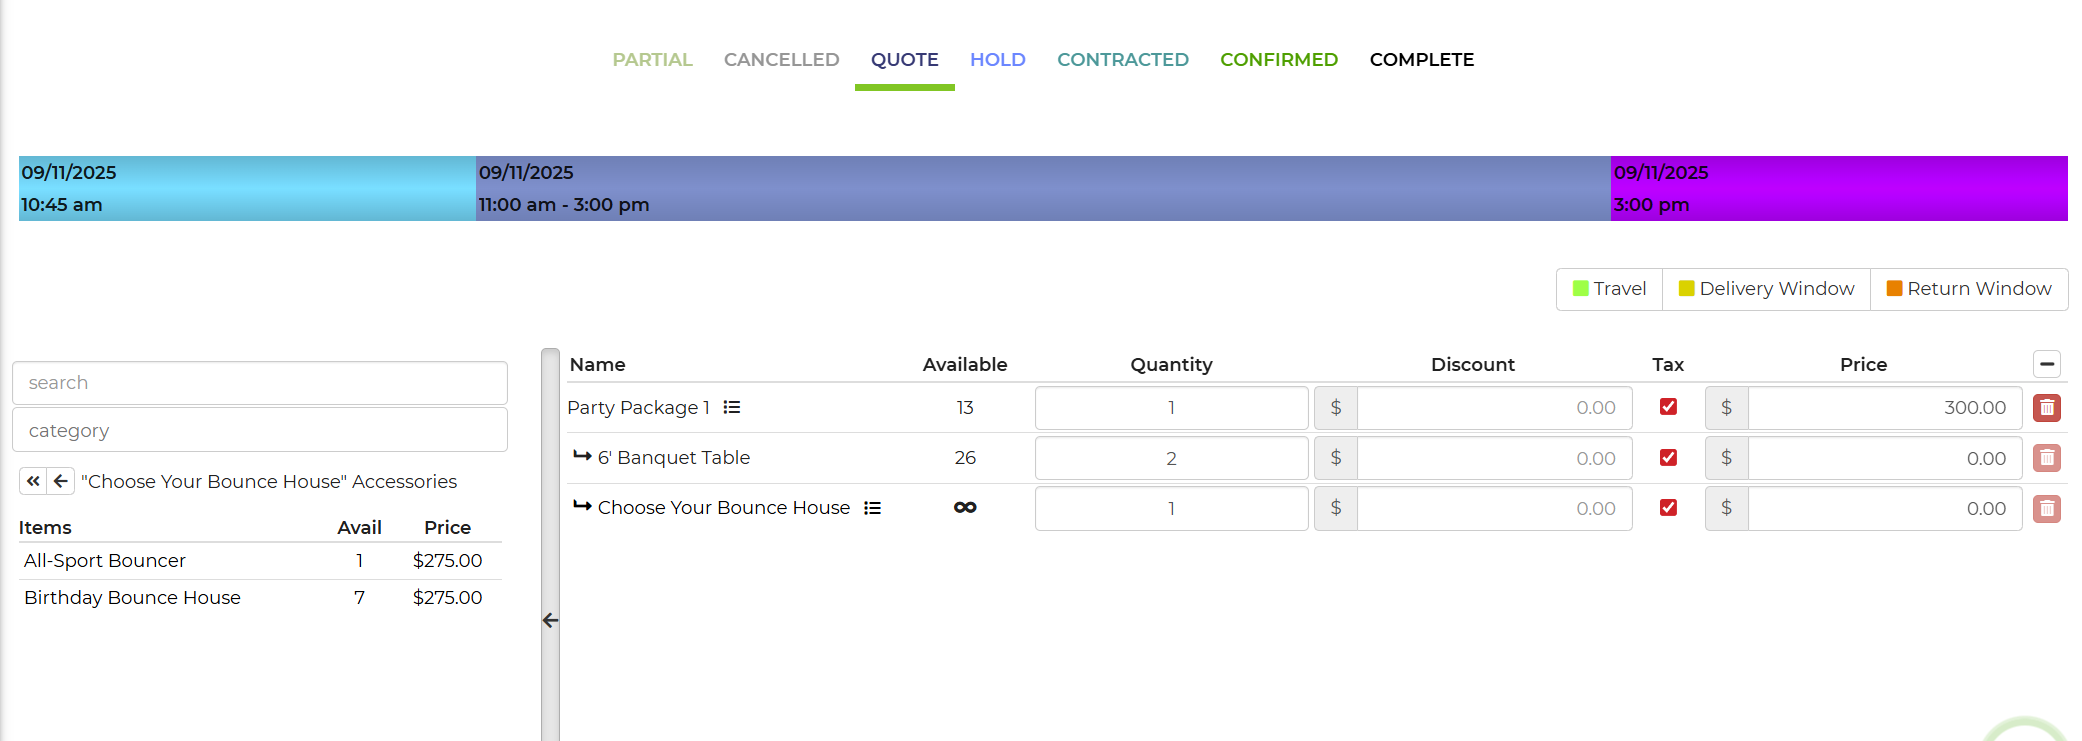
- Review and test how the “Choose” function works while working within a Lead/Event.
Use Cases
- Fixed Package: Perfect for simple bundles that always include the same items, like 1 bouncer, 2 tables, and 12 chairs for a flat price.
- Dynamic/Choice-Based Package: Ideal when you want to offer flexibility, such as a package where customers must choose 1 bouncer from a set of options plus the required tables and chairs.
For questions or help with building packages you can contact our support team.
- Support@inflatableoffice.com
- (440) 385-4080