Customizing Lead List Columns
You can easily customize the columns shown in the leads list table on the Leads page. You do so by first creating a custom report with the columns you want. Then you tell IO to use that report when building the leads list table for your account. Detailed instructions follow.
Step 1) Create the report.
Settings -> Reports -> Add New
Here is where you define the columns that you want in your report and their order by dragging them into position as shown below. Columns are sorted alphabetically in the available columns box.
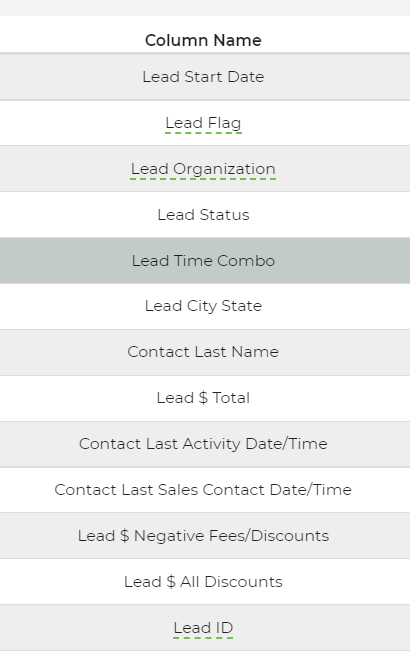
Step 2) Make sure you only use columns that start with Lead or Contact:
Using only columns starting with Lead or Contact, will ensure that you only see one row per lead. When you add columns that start with Rental, Payment, Shift, or Task, you may see multiple rows for one lead since one lead may reference multiple rentals, payments, shifts, and/or tasks. Also, you do not want to use grouping or sorting in your report. Otherwise, the data returned may be confusing for you to work with. These principles apply to general reports, too, but sometimes based on the report, you want multiple rows per lead, grouping, and/or sorting.

The above list shows the columns used on the default report. Set your report up just like the above before customizing it.
Step 3) Save the report and set it to be used for your leads page:
After you've defined your columns, enter a name like “report for leads page,” and save it for quick retrieval later. After saving the report, go to Settings -> Reports to control columns on the Leads page and select the report you made. Now when you load the leads page, it will use the columns you defined in that report.


