The software allows for you to attach files to a lead for retrieving at a later date. Here are some examples of why you may want to do this:
- Taking pictures in the field documenting a proper setup.
- Taking pictures in the field for promotional purposes.
- Storing files the customer has sent you such as parking passes or campus maps.
- Storing a digital copy of field paperwork.
How to Attach a File to a Lead
- From the Leads/Event's page, search for the lead that you wish to add an attachment to.
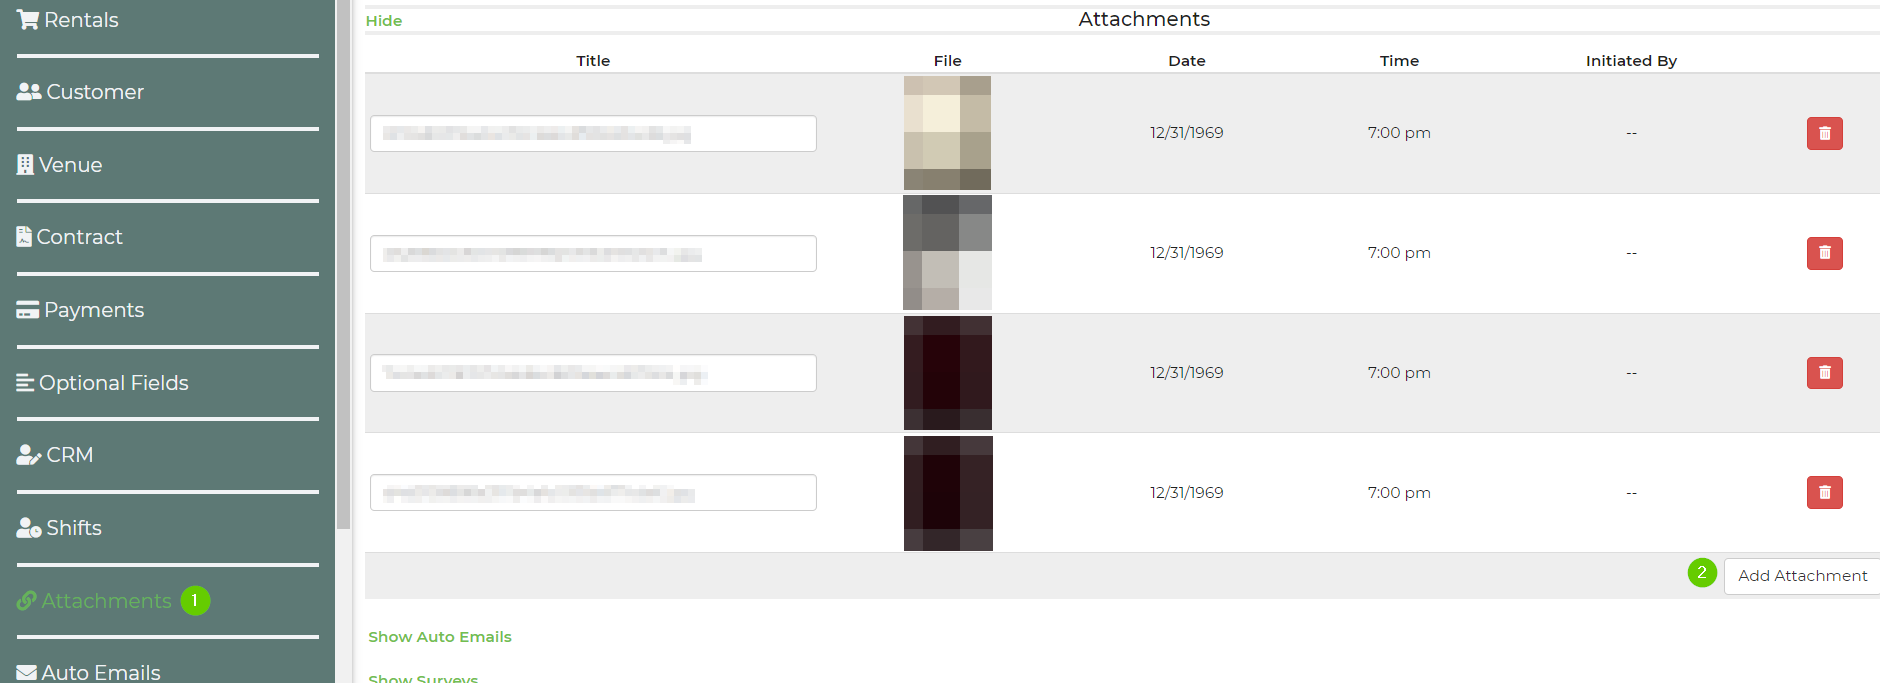
- Click on the left side tool bar and select attachments. Once you're there, you can select the "Add Attachment" button and choose the attachment that you wish to attach. After attaching an attachment, it may take a few moments to populate into the lead. Make sure you save the lead.

You will be able to view the lead attachments in the lead here:

Drag and Drop Attachments
- From the Leads/Event's page, search for the lead that you wish to add an attachment to.
- Click on the left side tool bar and select attachments. Once you're there, you can drag and drop attachments into the lead, as pictured below. After dragging and dropping the attachment, it may take a few moments to populate into the lead. Make sure you save the lead.

Email or Text Attachments
You can send in attachments, such as images or documents, via text or email and have them attached to leads. When you do, send to attach@inflatableoffice.com.
The following requirements must be met for us to attach the images or documents to a lead.
- The phone number sending a text from, must match a phone number of a worker in your account or the from email must match a worker in your account if it was emailed.
- If no matches are found, we check the phone and email of the main admin account for a match.
- If a lead ID is set in the subject of the email or text, the username for that lead ID must match the account of the worker/main account determined above.
- If no lead ID is sent but the worker found above is listed on a shift for a lead that is currently in process, we use that lead ID to determine where to attach it.
If you have multiple accounts with the software or EventOffice, you can run into issues where we cannot verify your authority to attach to the lead you are trying to attach to because you are using the same email/phone for those accounts/worker profiles.
Accepted Formats for Attachments
'bmp', 'doc', 'docm', 'docx', 'gif', 'htm', 'html', 'ico', 'jpeg', 'jpg', 'mov', 'mp3', 'mp4', 'odf', 'pdf', 'png', 'pptx', 'tif', 'tiff', 'vcf', 'vsd', 'xlsx', 'xls', 'zip'
Maximum file size is 25MB.


