
Using Venues
To use venues, first go to Optional Fields and turn on the Venue fields that you want to use. At minimum, you should turn on the Venue Name field. This will then show on the leads page when you are entering in venue information. It is not a required field, but as you will see below, it can save you time.
How Venues Save You Time
If you create a lead and enter a venue name (Examples: Hotels, Parks, etc.), it will save the venue details to be recalled again on future leads. This is particularly useful if you regularly use certain venues. By typing in the venue name on the lead, you will be able to select matches, and it will autofill in all of the venue information. That includes possibly important venue notes you may have put on the venue for your staff to see. The information we currently save is the venue name, address, phone number and venue notes. You can also add attachments, which can include the floorplan/layout, the building, where to park, etc.
Updating Venue Information
Changing the venue information for any lead, will change the venue information for EVERY other lead that has the same venue attached to it. The same will happen if you edit the venue on the venue settings page.
You can set full access permission for venues on a worker profile, which will allow the worker to work with the venues page as well as update and create venues directly from the lead. If you give the worker read only permission for venues, they will only be able to search and use venues that are created. If they alter this information, those changes are saved to the lead and not the venue. The link between the venue and lead is also broken at that time. You must select a venue from the list that shows when typing if you want to import that venue information. You must also have full access permission to venues if you want to alter venue information directly from a lead and see it propagate to other leads.
Blacklisting a Venue
You have the ability to blacklist or block venues that you do not wish to work with. When a venue is blacklisted or blocked, it will prevent bookings from being confirmed for events at that location. Instead of proceeding as normal, the system will display a “Request Submitted” message to indicate a review is needed. These venues will also appear with a flag on the quote within the Leads page and you will receive an email letting you know why your customer wasn't able to book. Additionally, if an admin attempts to create or manage a booking at a blacklisted venue, they will receive a notification alerting them, but they will still have the option to proceed if necessary.
While we try our best to blacklist/block customers, it isn't always possible to match the incoming request with a blacklisted/blocked customer appropriately. Currently we check for a match on any of the following:
- Address
- City
- State
- Zip
How to Blacklist/Block a Venue
Option 1:
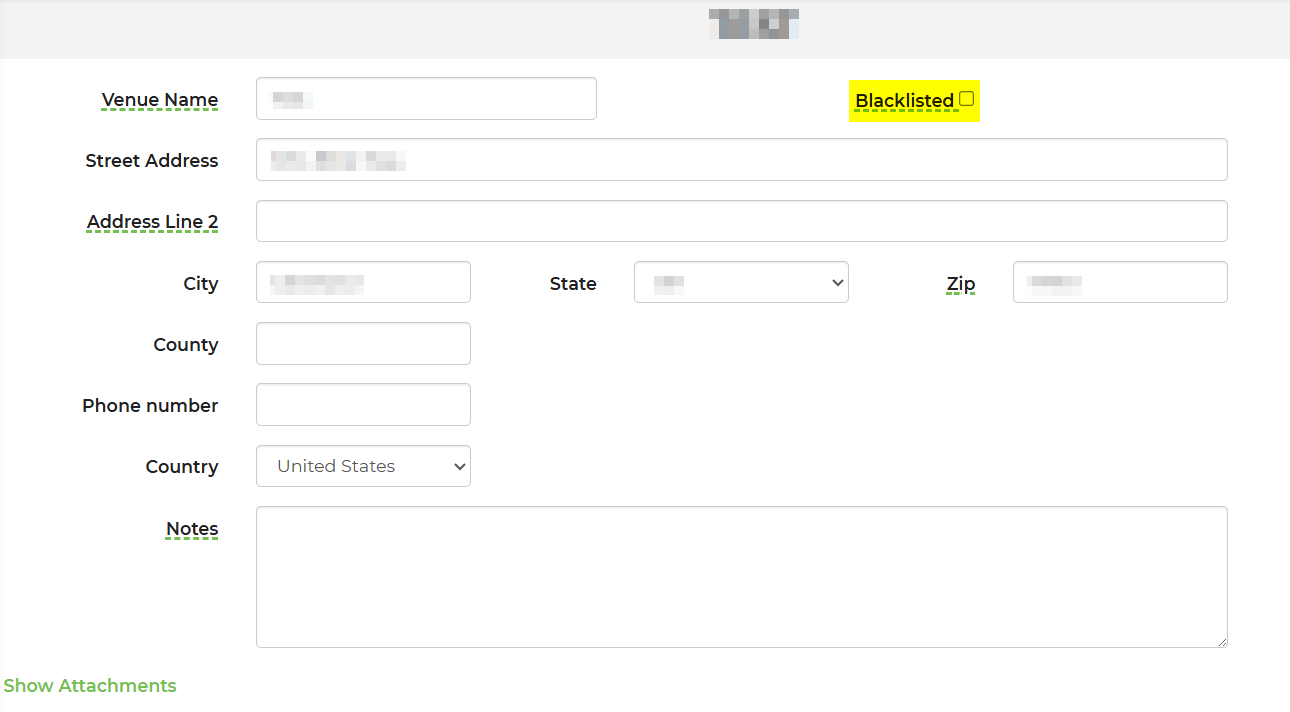
- Settings -> Venues
- Locate the venue
- Once on the venues profile, select the option in the top right corner "Blacklisted"
- Once you have blacklisted/blocked the venue, you must save and close.
Option 2:
When creating a lead, or within a lead, you will see the checkbox "Blacklisted" within the venue section of the lead, right above the Event Notes.
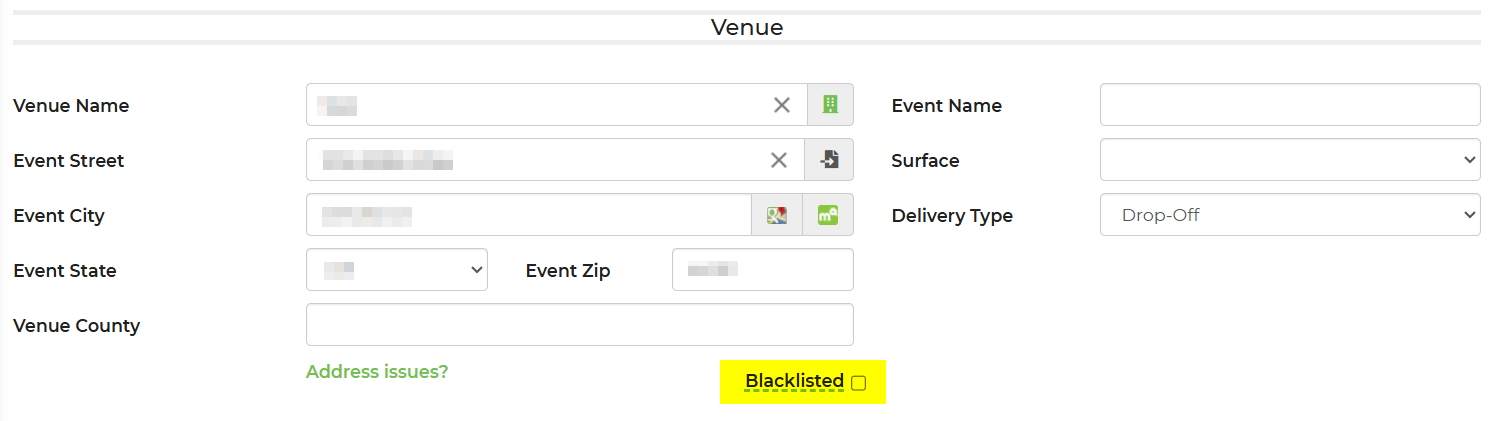
**Please note: You can unblock a venue at any given time by unselecting the box.