
You can create a website filter so clients can easily find products on your website.
You activate it by adding the 'the software Product Filter' widget to your website. This is done in Elementor, click on the 9 dots at the top-left side, then scroll all the way to the bottom. Drag the widget on to your site (usually to your header).
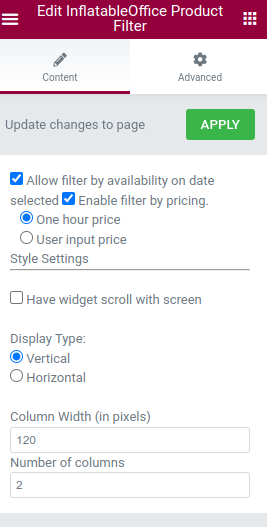
From there you can enable it to filter by:
- Availability
- Pricing
- or any optional inventory field you create
The last one requires you to create the field in IO, mark it as 'filterable' then in your inventory you set the value accordingly (for example maybe you set a linen color). Then after you save those items, the values should sync to the site and the filter widget will allow you to enable those fields, which will allow the customer to filter your inventory by those fields.
New for plugin version 6.10.0:
You can now group checkbox filters to create custom groups. For instance, if you want to create a section on filter called age group, you would create a series of optional fields in IO that are all checkbox type fields, and that cover certain age groups ( for example: toddler, 5-10, 11-15, 16+)
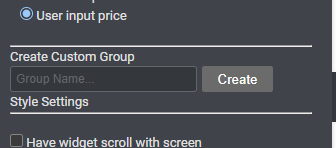
Once you make those fields and set them on your applicable items, in the filter tool settings, you can create the custom group by typing the name of the group into the input box below "Create Custom Group", then pressing "Create". This will allow you to select the checkbox type fields you want to appear in that group. After making your selections, you can press "Update" on the bottom of the form to save your changes. These custom groups can modified and removed any time after creating them.
New for plugin version 6.12.0:
The filter tool now allows you to filter on size of items. The filter is based on the Actual Size set on the item in inventory, and dimensions must be separated by upper or lower case x with any amount of spaces or no spaces between.
The tool also now searches for the accessories of items as well. For instance. If you setup a linen item with a size accessory and the size accessory has a color accessory, you can set an optional field on the color accessory called Color. The filter tool will allow you enable the color accessory and can successfully find any linens with that color optional field on them.
