
There are so many benefits for you taking down customer information on your website to help get them started, whether this is for a free quote, how to get started or even inquire about more information about your items. Who doesn't want potential customers providing them some personal information for future leads!? The most common fields that are entered are first and last name, phone number and email. With IO, you can choose what information you would like your customer to provide to you, simply by editing your form!!
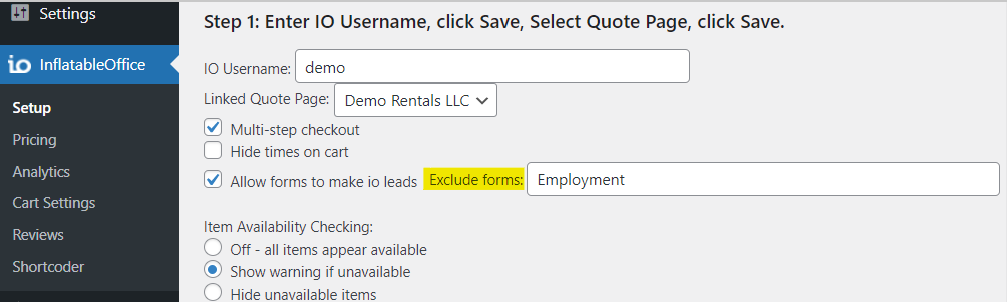
Elementor forms will automatically create leads in IO, but you can control which forms shouldn’t create leads in IO (such as an employment form). Enter in which forms you would like to exclude, shown below:
When editing your page with Elementor, you will notice hovering over the Contact Us in the footer, there is an option to edit these sections, as shown below.
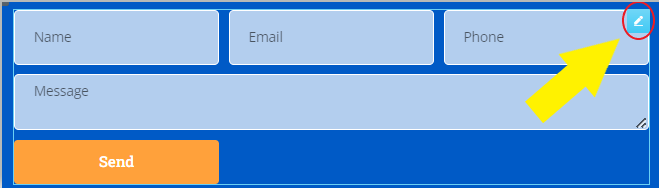
Once you select the edit option, you will notice the side panel pulling up information from the boxes. It will look similar to this: 
If you select any field listed above, it will pull up some content and advanced options. In the context options, you can change the type, label, placeholder and even require this field to be entered before the customer can submit this information. In the advanced options, you will notice there is a few sections listed as default value, ID and shortcode. The ID for the name field is: firstandlastname. The ID name for the email field is: email. The ID for phone is: cellphone. These fields correlate to IO for information we are looking for in specific. These fields can be found in your Quote Request or Contact Us forms.
When using Optional Fields, you will need to enter the optional field slightly differently because Elementor doesn’t accept dashes (-). Where you would normally enter: customfield-1234, you would replace the dash with an underscore: customfield_1234.
You may also see Tags in this area. Tags are hidden from the section so there will not be a field listed for the customers to see or fill out.
Some great hidden fields to add if you are tracking marketing campaigns are: utm_source, utm_campaign, utm_medium.
Lead Status
If you want the lead created to be a certain status you can accomplish this by setting a hidden field on the form with the status id as the value, and an ID of "elementor_statusid":
You can get the ID of a lead status from the URL in IO:

Fields available
Event info: 'startdate','starttime','enddate','endtime','taxexempt', 'eventname','salesrep','eventstreet','eventzip','eventcity', 'eventstate', 'deliverytype','surface', 'eventorganization','notes', 'elementor_statusid' customfield_XXXX
Customer info: 'street', 'zip', 'state', 'city', 'officephone', 'custtags', 'oktotext', 'firstandlastname', 'cellphone', 'email', 'firstname', 'lastname','title', 'attachment'
Redirect
Choosing redirect and entering a URL for actions after submit, can take those who submit the form to thank you pages with other content. All you do is add the URL link!
Actions After Submit
You don't need to set this for IO to pick up the submissions unless you additionally want to get an email or send the results to other places.

Actions after submit will be the actions you want the form to make after the customer has submitted their information.
Once the information has been submitted, this information will pull directly from the form and put a lead into IO.
If you'd like to add more fields, select the "+Add Item" and this will populate to your form.
For more information, here is a helpful video!!