


Create and Send Email Blasts (Newsletters)
Use newsletters to send announcements, promotions, and other bulk email messages to existing customers. You can schedule delivery, control the sending rate, and limit recipients with a saved lead filter.
Prerequisites
- Access to Settings and the Email Center.
- Existing customer contacts with valid email addresses.
- Correct outgoing email settings and a send rate that is within your email provider's limits.
- Marketing consent from recipients when required by applicable anti-spam and privacy laws.
- Optional: A saved lead filter if the newsletter should only go to a specific group of customers.
Create and Send a Newsletter
-
Open the Email Center
Go to Settings → Email Center, and then click Add Email.
-
Select the Newsletter category
Change Category from Manual to Newsletter.
-
Create the newsletter content
Enter the subject and build the message in the Email Center editor.- Use the standard editor to format the newsletter directly.
- To use externally generated HTML, create it with a tool such as Inkbrush, export the HTML, select the </> source button in the editor, and paste the code.
-
Configure the delivery schedule
Set the Begin Sending Date, daily start time, and daily end time.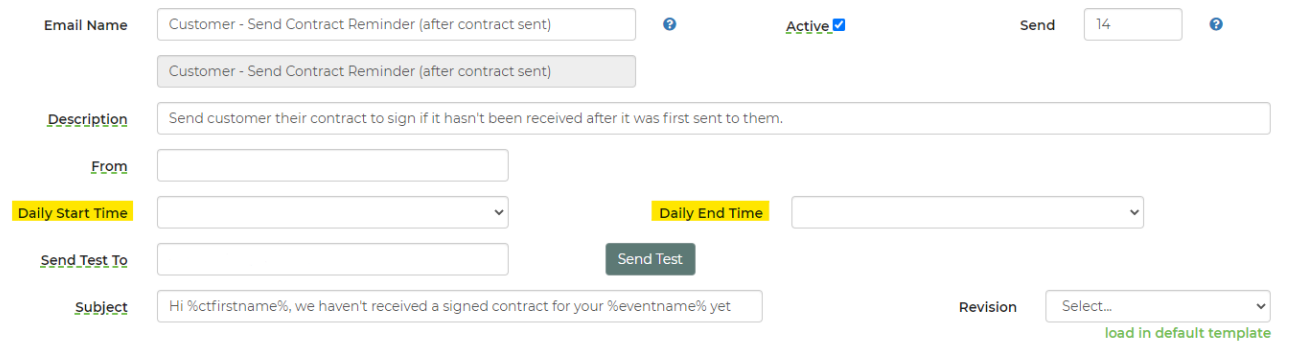
-
Set the send rate
Choose a rate below your email provider's sending limit. Leave enough capacity for quotes, contracts, and other manual emails.The newsletter displays an estimated send duration based on the number of recipients, send rate, and daily sending window.

-
Apply a filter if needed
To send only to certain customers, select a saved lead filter in the newsletter's restrictions. Create and save the filter from the Leads page before adding it to the newsletter. -
Review variables
Use customer-based variables rather than variables that require lead or event information. The *quote_request_url* variable can direct customers to the first active WordPress Checkout or Quote Request page found by the system. -
Test the newsletter
Send a test before activating the newsletter. Check the formatting, links, variables, mobile display, and spam score. -
Activate the newsletter
Turn on Active and save. Sending begins according to the configured date, daily time window, and send rate.
Important: The recipient list is created when the newsletter is created. Customers added afterward are not included in that newsletter. Create a new newsletter if recently added customers must receive the message.
Feature Options & Parameters
| Option | Effect |
|---|---|
| Category | Select Newsletter to create a bulk email for customer contacts. |
| Active | Enables newsletter delivery. Keep it inactive while creating and testing the message. |
| Begin Sending Date | Sets the date when the newsletter may begin sending. |
| Daily Start and End Time | Limits delivery to a specific time window each day. |
| Send Rate | Controls how many messages are sent per hour. The available rate can be up to 2,000 per hour, but it must not exceed your email provider's limit. |
| Send Duration | Estimates how long delivery will take based on the recipient count, rate, and sending window. |
| Lead Filter | Limits delivery to customers who meet the saved filter criteria. |
| HTML Source | Allows HTML content to be pasted through the editor's </> source option. |
| Unsubscribe Footer | Automatically adds unsubscribe options and company information. Do not add a separate unsubscribe link to the template. |
Use Cases
- Seasonal promotion: Send a promotion to existing customers and schedule it to begin during business hours.
- Targeted announcement: Apply a saved lead filter to send different newsletters to schools, residential customers, or another customer group.
Newsletter Best Practices
- Send only to customers who expect or have agreed to receive marketing messages.
- Use a slower send rate for large recipient lists to reduce spam complaints and delivery problems.
- Keep the send rate below your email provider's limit so regular business emails can still be sent.
- Test the message with Mail Tester before activation.
- Avoid excessive links, misleading subject lines, and content likely to be marked as spam.
- Keep spam complaints below 0.3% of sent messages.
Troubleshooting & FAQs
Why are recently added customers missing from the newsletter?
The recipient list is created when the newsletter is created. Customers added later are not included. Create a new newsletter after adding the customers.
Why did a variable appear blank or display incorrect information?
Newsletters use the customer list rather than the lead list. Remove variables that depend on a lead, event, contract, or payment unless the variable is specifically supported for newsletters.
Why is the newsletter taking too long to send?
Review the estimated send duration, daily sending window, and send rate. Increase the rate only if it remains below your email provider's sending limit. A newsletter must complete within 30 days.
Why did the newsletter not start sending?
Confirm that it is marked Active, the Begin Sending Date has arrived, and the current time is within the daily sending window. Also verify your outgoing email settings.
Why did fewer customers receive the newsletter than expected?
Review any lead filters or restrictions applied to the newsletter. Customers who unsubscribed are also excluded from delivery.
Can I remove the unsubscribe link?
No. Newsletters automatically include unsubscribe options and company information to support anti-spam requirements.
What should I do if messages go to spam?
Lower the send rate, test the message with Mail Tester, and review your SPF, DKIM, and outgoing email configuration. Ask recipients to mark the message as not spam when appropriate.
What if my customer list cannot be sent within 30 days?
Adjust the send rate without exceeding your email provider's limits. If newsletters are not sent through your SMTP server, follow the linked SPF instructions to authorize the required sending service.