
Newsletters (Email Blasts)
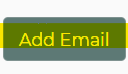
To send a newsletter to all of your existing customers, go to the Settings -> Email Center, and click Add Email.
You'll need to change the "Category" of the email from "Manual" to "Newsletter" in order to create these.

It is recommended that you test your newsletter before activating it. You can set the date you would like the system to begin sending the newsletter (Begin Sending Date). The newsletter will send to all contacts in your address book, but any customers added after the newsletter has been created will not be included. Newsletters will automatically contain an unsubscribe link on them, so you do not need to add it to the template.
You can build the newsletter directly in the editor here, or use a tool to generate the html. Export the HTML and paste it into our editor using the </> button in the toolbar.
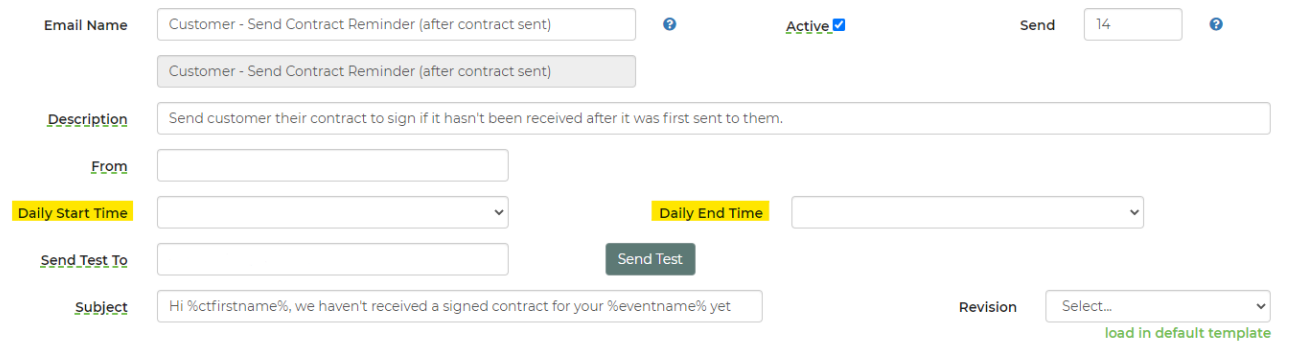
You can choose the daily start time and daily end time to send out these newsletters.
You can also get a good idea of how long it will take to send the emails based off of your sent rate. It will appear in your Newsletter templates.

Variables in Newsletters
Since newsletters go to your customer list instead of your lead list, any variable that is dependent on lead information should not be used. Otherwise that variable may not fill in properly should you not have any leads associated with that customer. We have taken some steps to make sure the *quote_request_url* works so that you can direct them to your checkout page. It will find the first active WP Checkout or Quote Request page it can find and use that page group name in the URL.
Newsletters to only certain customers
It's possible to send a newsletter to only a subset of customers. You do this by applying a "Lead Filter" to the newsletter. This article contains some information on creating a Lead Filter by using the Keyword box on the leads page. After you save a Lead Filter, you can use it to filter Automatic and Newsletter emails.
Best Practices
You may think the more people you email, the better response you will have. While there is some truth to that, you may also be hurting your ability to send emails in the future. The more people you send to, the more likely your email will get flagged as spam, making it harder to deliver emails - even to the people that want them.
Additionally, if you have a large list, you may want to slow your send rate to help keep your email from looking spammy.
Also, it's always a good idea to test the spaminess of your email by using a free online tool to do so. We often use: https://www.mail-tester.com/
Anti-Spam Laws and opt-in requirements
All emails include an unsubscribe link and your company info at the bottom of the message, to comply with US based CAN-SPAM rules. We've added a "Marketing Consent" option to the Settings -> Optional Fields. Simply turn it on and you'll get a required opt-in request automatically added to your quote request form.
Send Rate
If your customer list that you are sending to is too large to send before 30 days expires, you will need to increase your send rate. Send rate is determined by your email server and preferences. This will allow you to send a maximum of 2000 messages per hour. You should not have a higher newsletter send rate than your host allows. If you are manually setting it, make it lower than your host's limit so that you have the ability to send additional manual emails without being blocked from sending other emails. If you need to send at a higher rate, you will likely need to turn off sending newsletters through your SMTP server and add the following SPF record to your DNS settings: include:mailSPF.smtp.com. See more information about SPF records here.