In some cases, you may want an automatic email, or a newsletter to only go to a certain subset of customers. Perhaps your "Event Reminder" email contains a lot of information about delivery details, and you don't want that email going to customers with the Deliver Type "Fully Staffed".
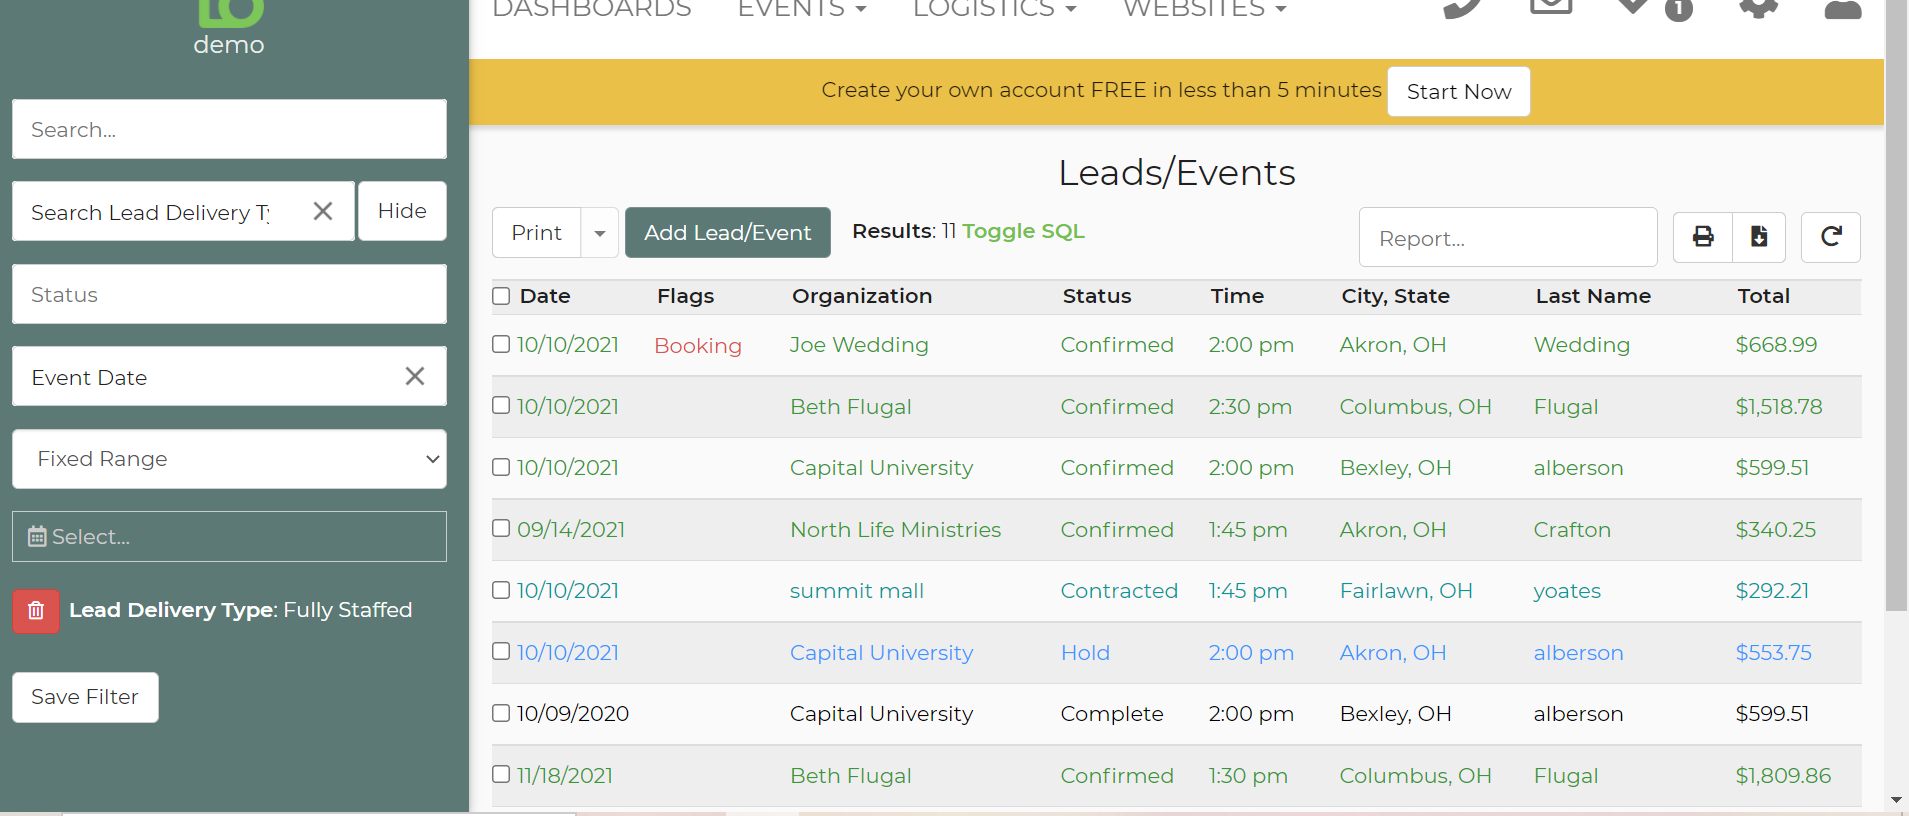
Our software uses the filters from the leads page to accomplish this. First,filter your leads on the leads page and save the filter.
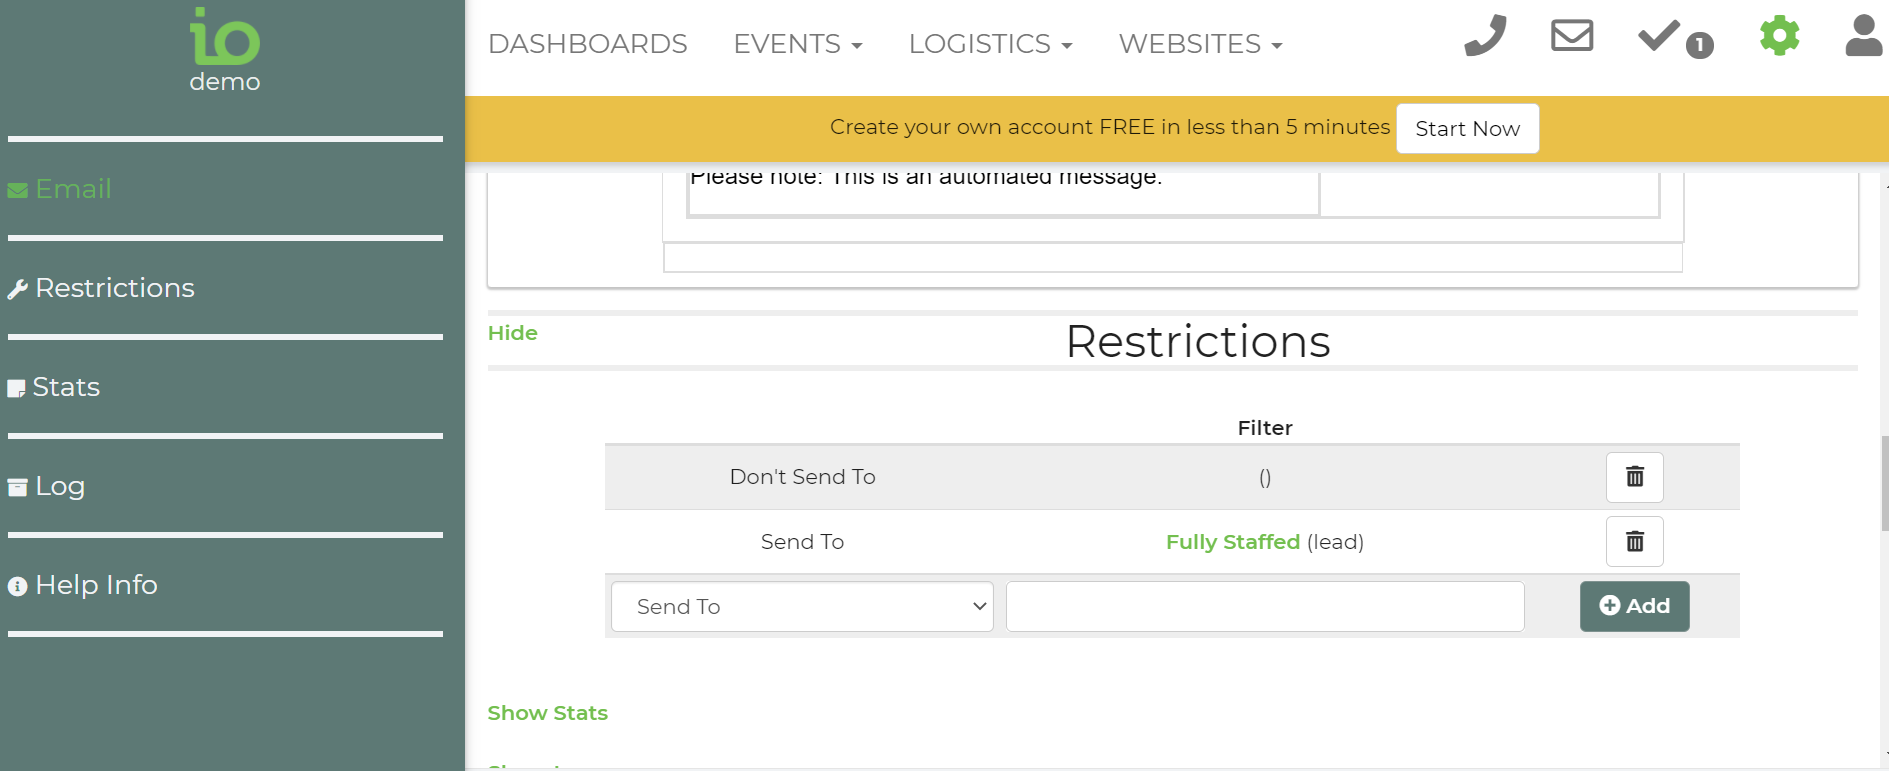
Then go to Settings -> Email Center, and edit the template you want to apply the filter to. Go to restrictions and add the filter there and save.
How Email Restrictions Work
When you apply filters to your email campaigns, our system uses a process of elimination to ensure your message reaches exactly the right audience. Here is the step-by-step breakdown of how that list is built:
1. The Starting Pool
First, we look at the Email Type you are sending. This creates your initial "master list."
- Example: For Newsletters, the starting pool is your entire customer database.
2. Applying Compatible Filters
To keep things simple, the system will only allow you to select compatible filter types based on the email you are creating. These filters act as rules to refine your starting pool.
3. "Send To" vs. "Don't Send To"
Once your filters are selected, they work in two specific ways:
- Send To (Inclusion): This narrows your list to only include customers who match these specific criteria.
- Don't Send To (Exclusion): This looks at your list and removes any customers who match these criteria.
4. The Final Result
The system processes all your "Send To" and "Don't Send To" rules simultaneously. The remaining names that haven't been excluded and meet all the inclusion requirements become your final mailing list.