
We have now created a way for you to send out postcards to your customers!! In order to send these out, you MUST have the WordPress API Module.
Here is a step-by-step on how to send out postcards.
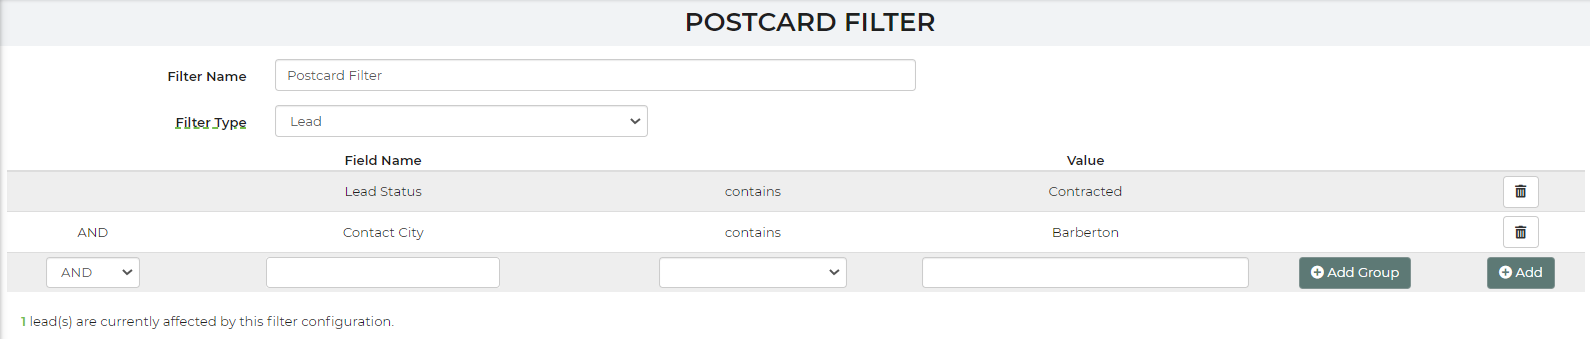
First, you have to create a filter.
1. Name Filter (for example purposes, I have named my filter "Postcard Filter")
3. Lead status - enter the lead status (for example, I want all of my postcards sent out to customers in the Contracted status)
3. Contains city (enter the city in which you want your postcards to be sent to)
My filter looks like this:
Next, you'll want to create a report. If you are using this to send postcards you want to include name and address data. The idea is to include any data in the report you will need for this automated task. This is how I have my report set up:
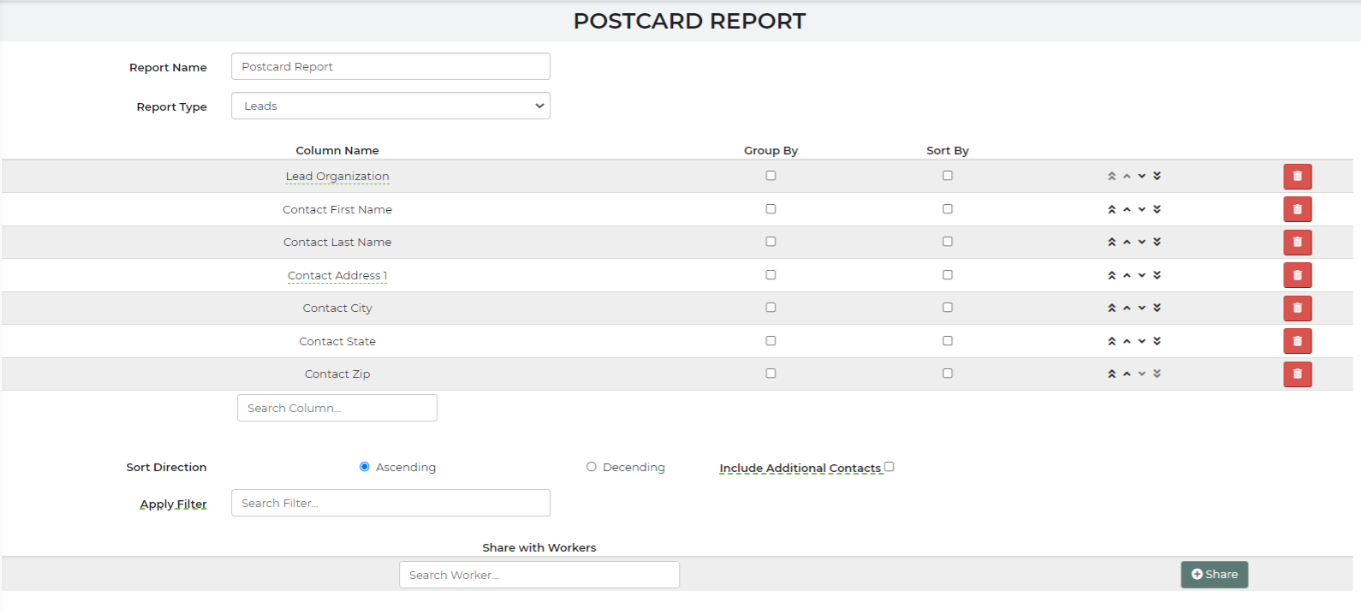
Once your report has been created, be sure you save and close.
After your filter and report have been created, it's a good idea to test them. Go to your Leads/Events page, find and apply the filter, similar to this:

You'll then search for your report:
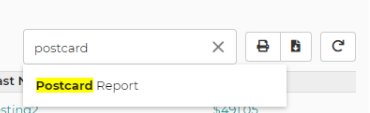
By testing you can make sure that the correct data is showing.
Sending Postcards
In order for your postcards to be sent, you must create an automation. We use Zapier for this. This is integrated and embedded into our software in the settings. To use Zapier, here are the steps for the automation to be created.
- Create an account or login to previously created account.
- Once logged in or an account has been created, you will create a new zap. This zap will use the InflatableOffice app as well as the ClickSend app. We will take you through it below.
- Start with the InflatableOffice app as the trigger. Choose Automation/Webhook as the trigger.
- Now connect your account. You MUST create an API Key in your InflatableOffice account. Once your API Key is created, Save & Close. Go back into the API Key, copy API Key, paste into Zapier.
- Lastly input the necessary information such as Location( if you have a multi-location InflatableOffice account) and the Filter and Report that you created above.
- You will then be prompted to test your trigger. Once you test your trigger, you should see some data (what you chose for your report) from your account that matches your filter.
- Next choose the ClickSend app.
- You will be prompted to sign in or sign-up for a ClickSend account.
- Choose Send Postcard when given the chance.
- Enter the url of a PDF File that you want to use as your postcard (this is required). Here's the postcard format.
- Priority (you may select yes or no. If you select yes, it may change the price)
- Enter in all of the fields (you may find it easier to use the search bar to find the fields you would like to input.
- Once this information is filled out, select Continue.
The PDF file URL is the location of your postcard design. Make sure you build it to their specifications so you know it will print the way you want. It may be a good idea to do a test and have it sent to your address first before enabling it to send to all your customers. You would do this by creating a lead with your address information and then filtering to only grab it. You can look at your ClickSend account to know when it has been processed.
Important: Ensure you have sufficient funds in your ClickSend account or have it set to auto-replenish. This way, when we send the data, it will be processed smoothly. If your account lacks the necessary funds, the remaining postcards will not be sent, and there is no easy way to resend them.
If you go back into your IO account and go to your Automations, you will then see your created automation.