Settings - Import Files

For a video walkthrough on imports, see the bottom of this page. 

Here you can import a customer, inventory, vendors, or venue files to your software by going to Settings -> Import Files. The quickest way to import a file is by having a .CSV file stored on your computer.

  1.  
  2. Select type of import
  3. Upload the local file (must be a CSV file) 
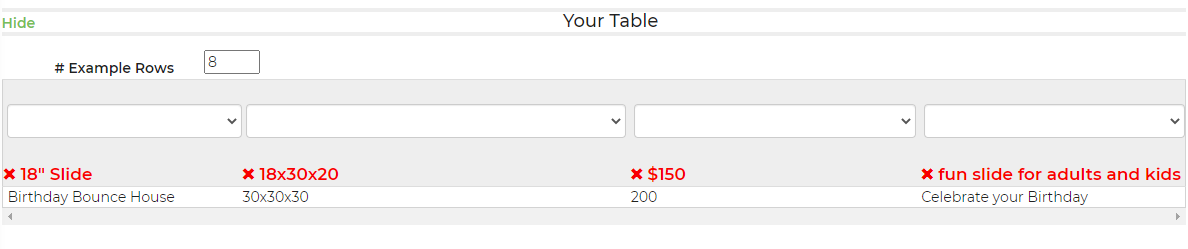
  4. Use table editor to assign columns
  5. Click "Save & Close" button

The software will put the import request into the queue and process the file as soon as possible.


When importing tags, you can import multiple tags by using a semicolon (;) as a separator. 


When using the import tool you may use an existing spreadsheet and map out the information within our import tool, or work off of one of our template spreadsheets. Below are links to populated spreadsheets by import type, already containing all available fields.

Rentals
Customers
Venues
Vendors


Import Fields available by Type

Customers:

  • First Name
  • Last Name
  • Address 1
  • City
  • State
  • Zip
  • Home Phone
  • Office Phone
  • Cell Phone
  • Fax
  • Email
  • Notes
  • Customer Type
  • Organization
  • Tags
  • Address 2
  • Title
  • Blacklisted
  • Customer Referral
  • Tax Exempt ID

Rentals:

  • Name
  • Serial #
  • Quantity (max)
  • Is Active
  • Description
  • Weight
  • Circuits
  • Dimensions
  • Staff
  • Notes
  • Category
  • Price Per Day
  • Pricecat Is Taxable
  • Image Link

Venues: 

  • Lead Venue Notes
  • State
  • City
  • Name
  • Zip
  • Country
  • County
  • Address2
  • Street

Vendors:

  • Office Phone Number
  • Cell Phone Number
  • Email Address
  • Contact
  • Company Name
  • Category
  • Notes
  • Address 1
  • Address 2
  • City
  • State
  • Zip


Below is a video walking through the import process, and common scenarios you may encounter when working with data.

Is this article helpful?
1 0 0